Sunday, 29 June 2014

Floor it!

After a few more days of effort i've got the floor down using 2 Part Foam, PU18 sealant, Wests epoxy and 12mm marine ply oh and some A2 screws.

I know many will say its daft filling the bilges in but since i've encapsulated it in epoxy and sealed the edges i cant envisage too much of a problem especially as the bilge wasn't even 3" deep at the maximum so will wait to see if any problems occur - can't really see it myself.

What else............i started a Westerly Anarchy page over on Sailing Anarchy' site as a repository for all things Westerly as there are a few of us about the globe who are doing interesting things with Westerly's whether it be restoration, modification or sailing them to far off places.

Thinking particularly about the following people; Dylan Winter and his circumnavigation of the British Isles in his Centaur 'Harmony', Rob Hoffman and his modified Pageant, Greg Vanderboom' GK29 and David Greenwood's Nomad renovation as well as Ken Hastie' Centaur and subsequent W33 mods and a guy called Eric who amongst other things has built a retrousse stern into his centaur that incorporates an outboard to name but six.....well seven including myself, not many i grant you but oak trees from acorns and all that. Still if any of you are doing something quite interesting to or with a Westerly get in touch. I nearly forgot - the first Centaur owner who i came across on the internet in 2005  - a French Canadian who's modified his beyond all recognition for some serious ocean-going passages; Tribull, makes eight off the top of my head.

*Update* I nearly forgot about Derek Houghton's Konsort - Rhum Lady - now thats a project i'd call extensive, the album of which is on my front page to the right here.

Also got some much needed paid work this coming week so that will help push things forward but still a balancing act between time spent working for money and time spent on the boat

I'm confident i can as i'm still really digging the workshop/shed set up, every time i walk in my spirits lift. 

Great feeling that..........

Roger

Friday, 20 June 2014

That's that done.

I'm writing this from the shop PC having just got done sheathing the main bulkhead, i had a bit of a crisis when tabbing everything down on Wednesday as i went through ten roller heads, countless roller trays and a heap of other consumables too dull to mention.

As fast as i was knocking up, the resin was kicking, having traced the problem to poor ventilation  in the boat plus a scrotching hot day (well for the UK at least) i resigned myself to sanding the saloon side down as i had no time for peel ply.

I basically wasted a whole day yesterday sanding everything - even the side i peel plied! I gotta be honest i've never had much success with the stuff unless the workpiece is horizontally flat with access all round. I had the very same problem when laminating the keel to hull joint. I'd peel away the peel ply to reveal loads or crevices where it had lifted - the heads side of the bulkhead was no different so having spent yesterday in my CSI suit and gimp mask (quite a look) i proceeded to sweat like a pig not to mention itching and scratching all the way to the shower.

Still undaunted i got up early this morning knowing i had some fairly big areas to cover and not wanting to do all my consumables laying it up i thought a 7am start sufficient as the airs reasonably cool. I got the blowers going inside the boat and then proceeded to unfold my prize-winning origami onto the heads side of the main bulkhead. I was working at a pace that would make robots fear for their jobs as i thought in an hour or so the sun would come up and i'd be doing my circuit training bit of running up and down the ladders with fresh rollers and trays etc.

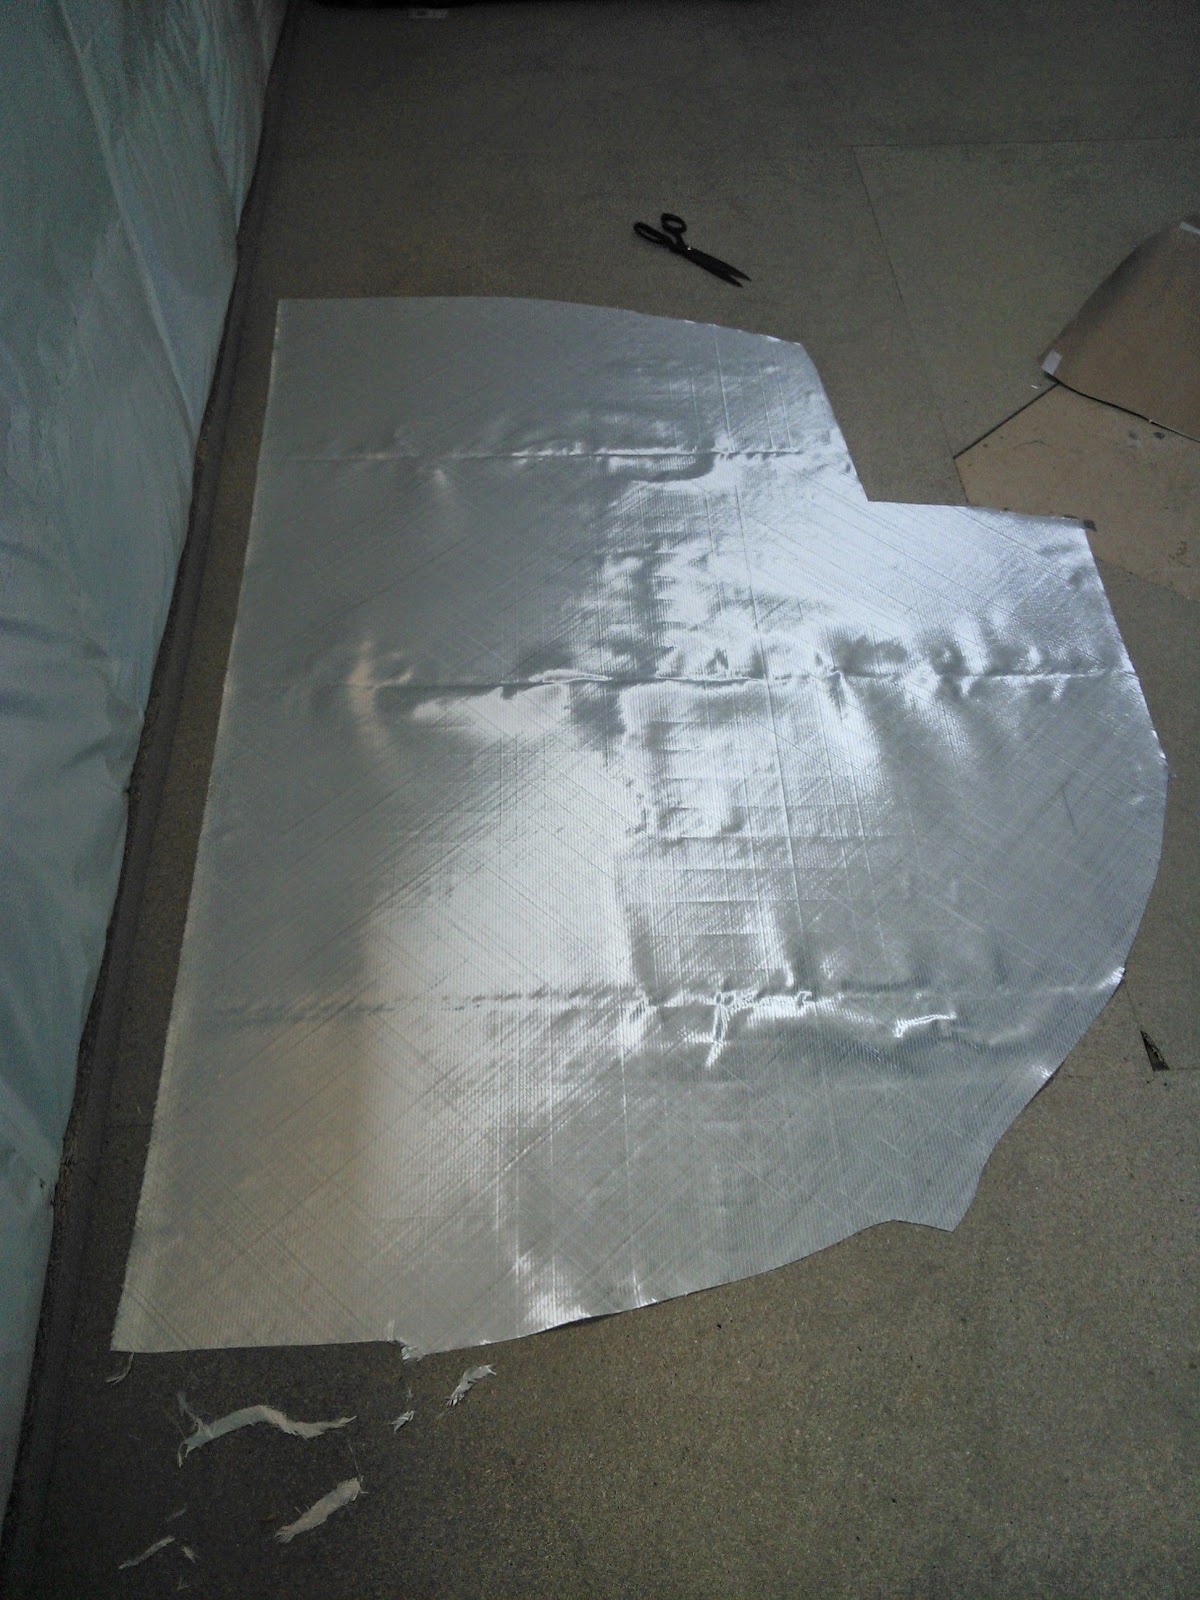
It wasn't to be although my arms were like jelly after the first piece of cloth, it was then i decided i'd be better served keeping the momentum going so elected to forego the peel ply and crack on with the saloon side. By now my confidence was high as was i, (i put it down to a lack of fluids - nothing illegal) and so for the final trick of the day i rushed a piece of cloth off the main roll in the shop, quickly templated it and whacked it on so i now have a totally sealed structural bulkhead.

What i've learnt these past few days is that if i ever do something like this again (and i probably wont in all honesty) i will be using/importing a non blushing epoxy like Mas or System Three from the States. It seems to me West's really is only practical on new-build using vacuum pressure and a lot of bodies. 
For the sort of work i'm doing where i'm limited in personnel and equipment (although i do use vacuum pressure for veneering and the odd bit here) its just too much effort plus the wasted time having to wash, wipe & sand regardless of whether i've used peel ply or not.

As the saying goes; you live and you learn................................

Monday, 16 June 2014

Bulkhead a go go!

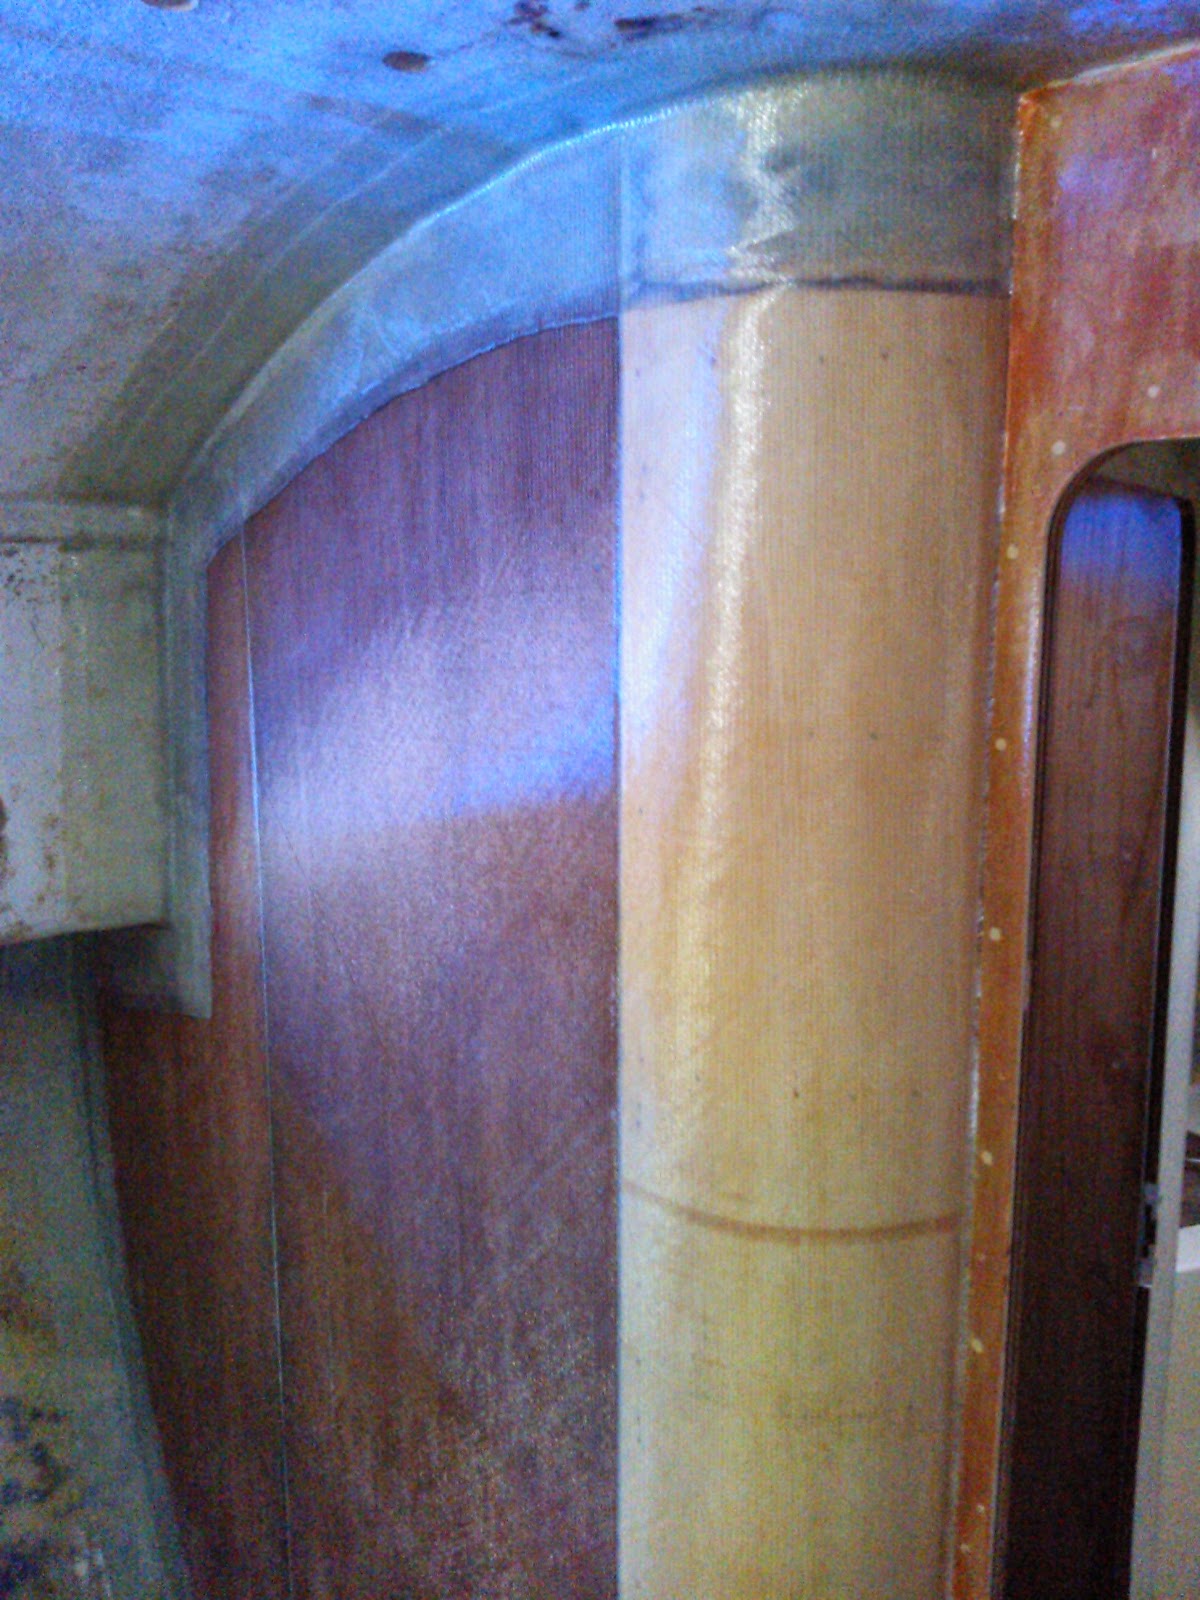
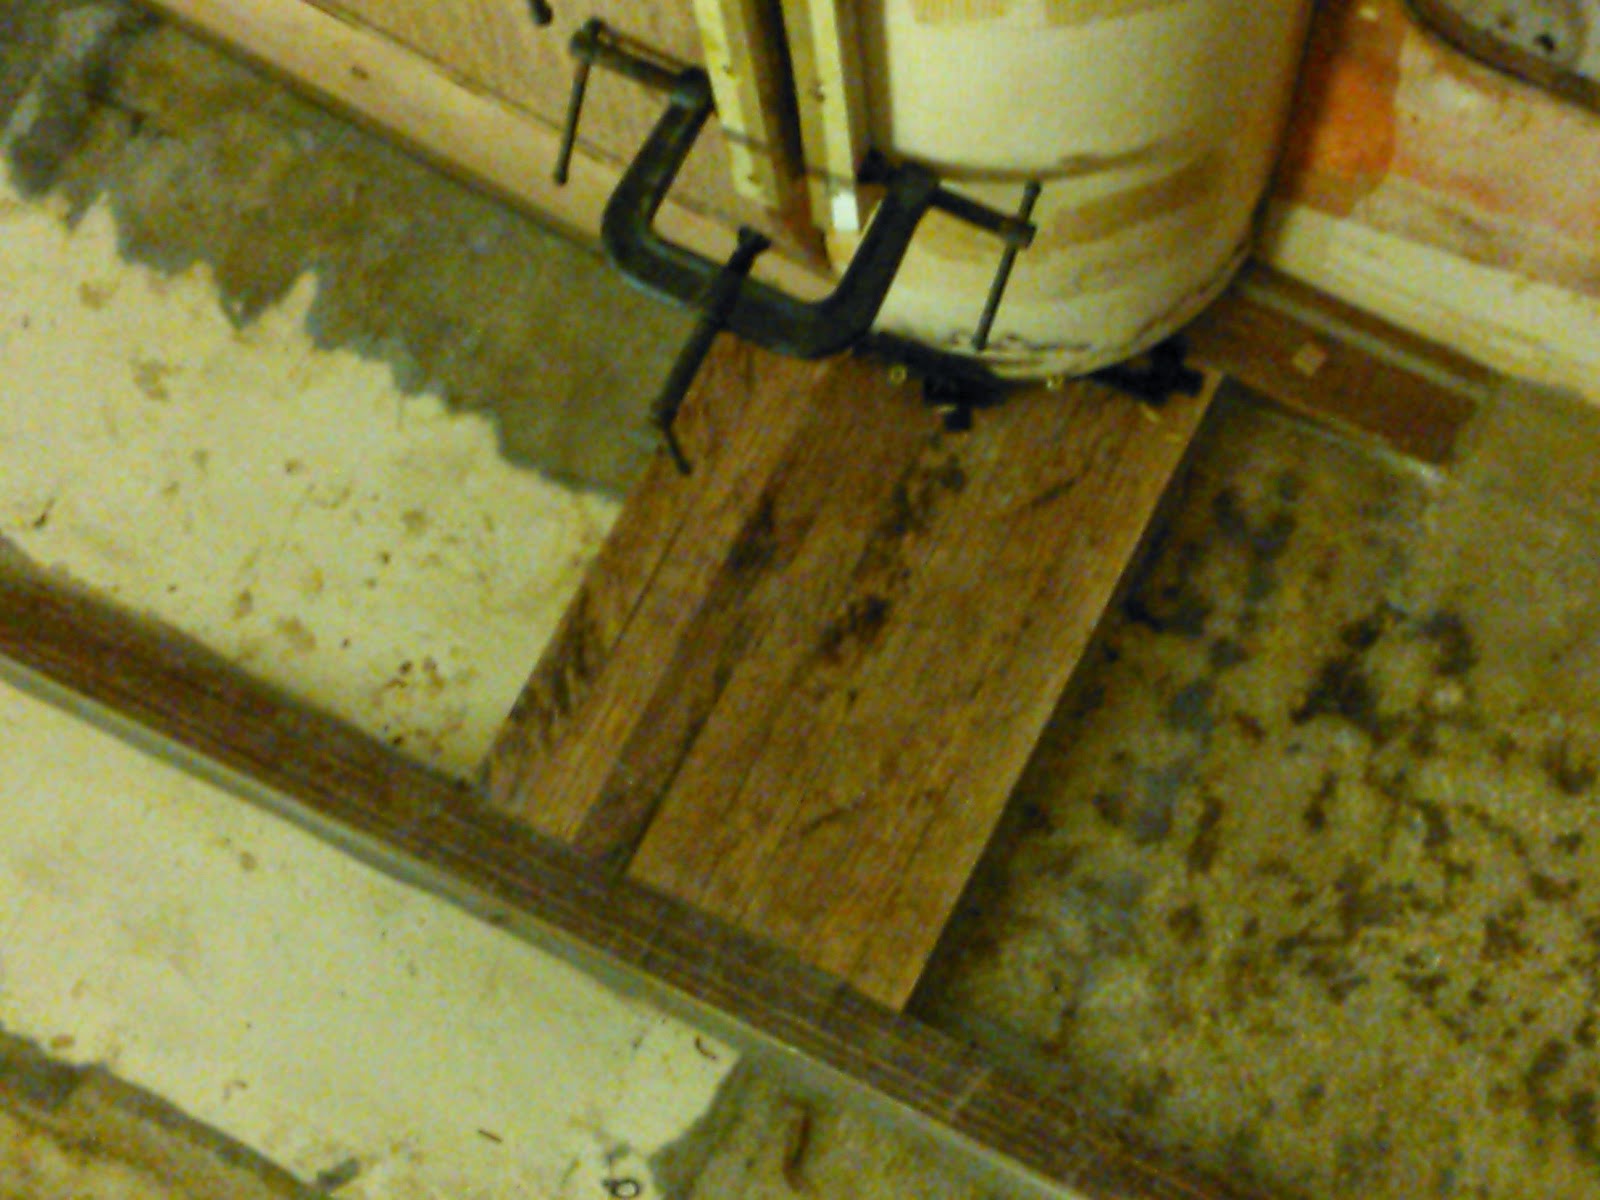
After a few interruptions i've finally got round to stepping the curved piece and bonding the next piece to it, since my last outpourings i've fitted a solid oak step in the bilge to take the compression loads of the mast via a new compression post.

Curiously Westerly fitted the old compression post offset to starboard on a 6" long piece of 4"x2" via a piece of softwood glassed in inside the dinette module. Thinking of the increase in loads from the increase in sail area; i don't want any hiccups so ran out a load of oak and profiled each piece to the contours of the bilge then bedded on a super thick cabosil bog - pushed it in then scraped away the excess.
I did this after trawling boatdesign.net for some answers regarding the most 'belt and braces' way of taking the mast loads and oak kept coming up so went with that seeing as i have tons of the stuff.

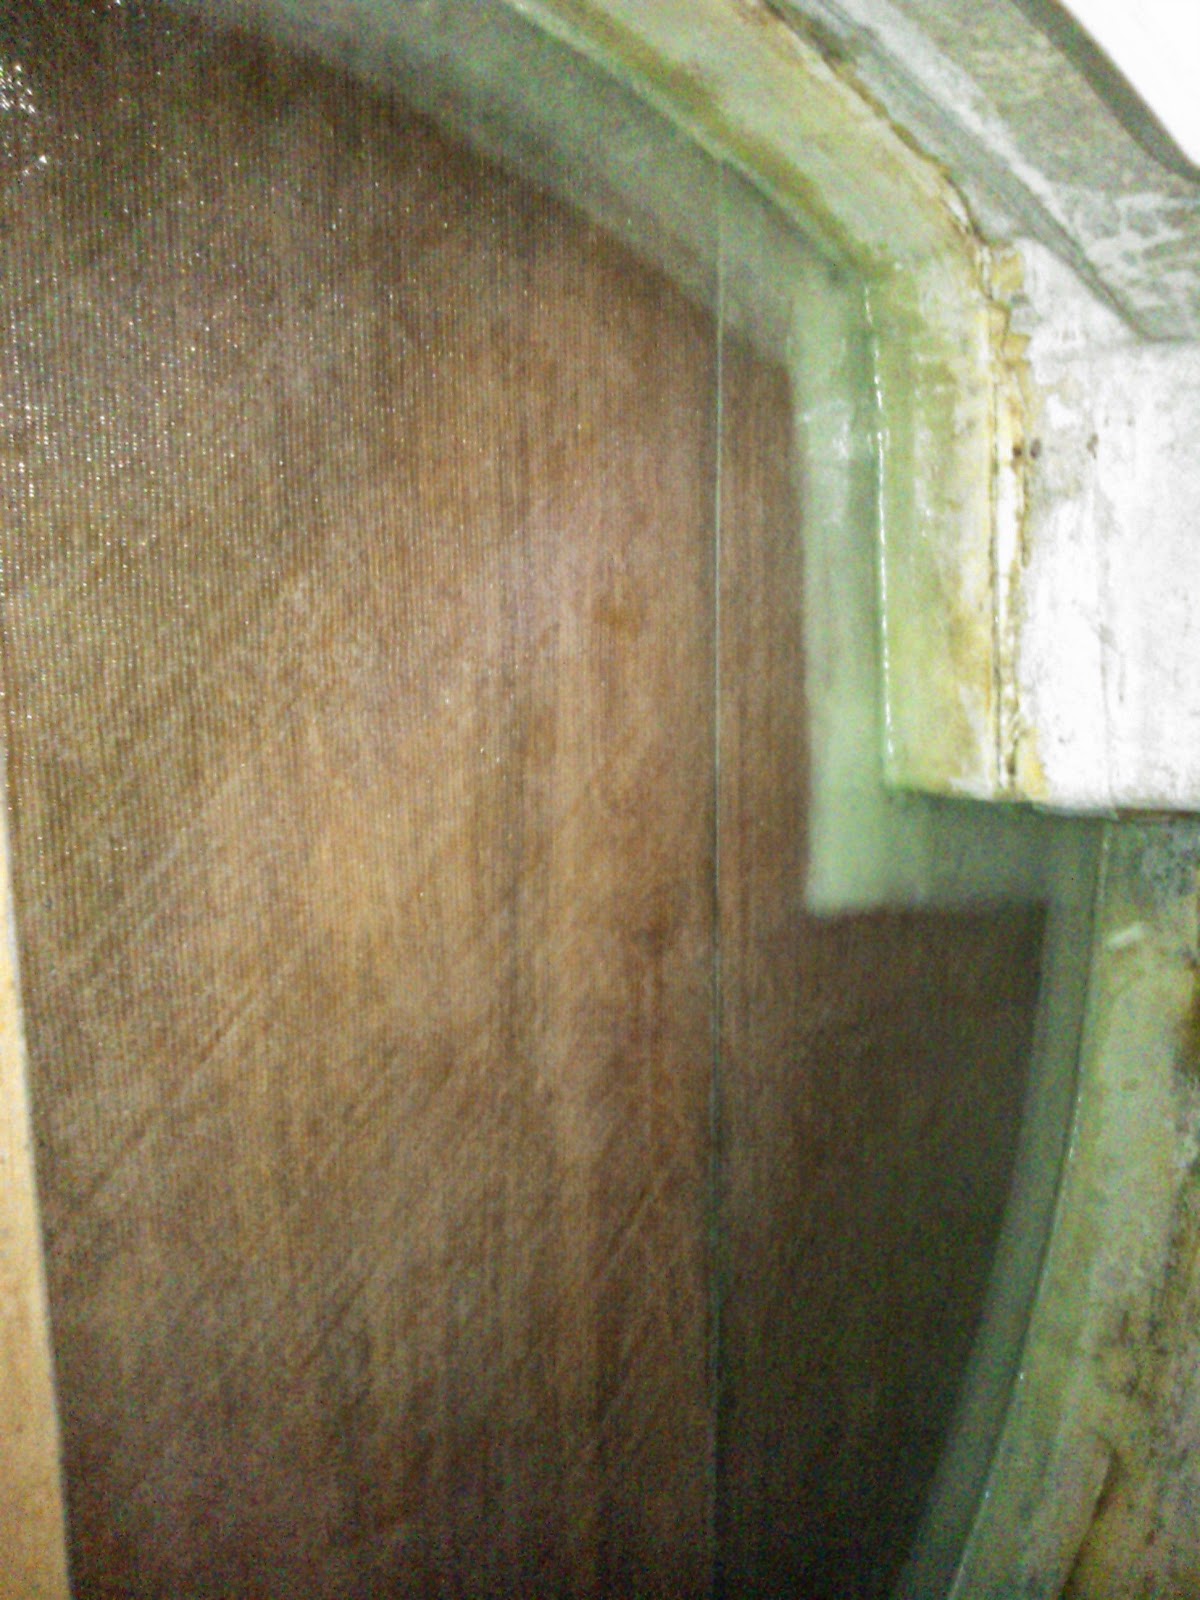
Today i finally got to fit the bulkhead i made some seven months ago.......i know don't remind me, its a great feeling fitting things, tomorrow i will fit the final bulkhead piece and then start taping it all down to the hull and coachroof, i intend sheathing everything to give it a bit more defence from moisture and to hopefully give the bendi-ply a chance.

I know this isn't structural and i'm not too fussed as the compression post will be fitted directly behind it in the heads but do want everything tied into the structure and seeing as i have gallons of wests i think its a spiffing idea.

The saloon floor is next in my sites then back to the engine room to bolt in angles and paint out, its just a case of a lack of funds thats stopping me mounting the engine but thats true of everything on this project.

Roger

Tuesday, 3 June 2014

I was right!!!!!

I completely annihilated the former this morning, it wasn't in vain though as the finished piece looks pretty ace. Still after a morning of cutting it square and sanding the resin snots off of it it was onto other things like getting the boat side part of this job ready. This entailed a bit of pattern making so i can clad the starboard side of the main bulkhead in 9.5mm marine ply and then tab to the hull as where it was sat in the internal moulding it was bolted in. 
Now i've cut that away, from the sidedeck on down the bulkhead is now just floating in air so the idea tomorrow is to get a sheet of 9.5mm bond and fasten it to the original and then tab it down several times so the structure is sound once more.
Before doing this i kept looking at the doorways and having never been that impressed with them even back in the day - everybody would crack their heads on them -  i decided an upgrade was needed so cut in the later style door shape Westerly used in the '80's and 90's.
It now looks more modern than ever before and you don't need to do your quasi modo impression when moving around up front or when you want to use the heads. 
More on this later......................................


Monday, 2 June 2014

Bendi Ply .........my arse!

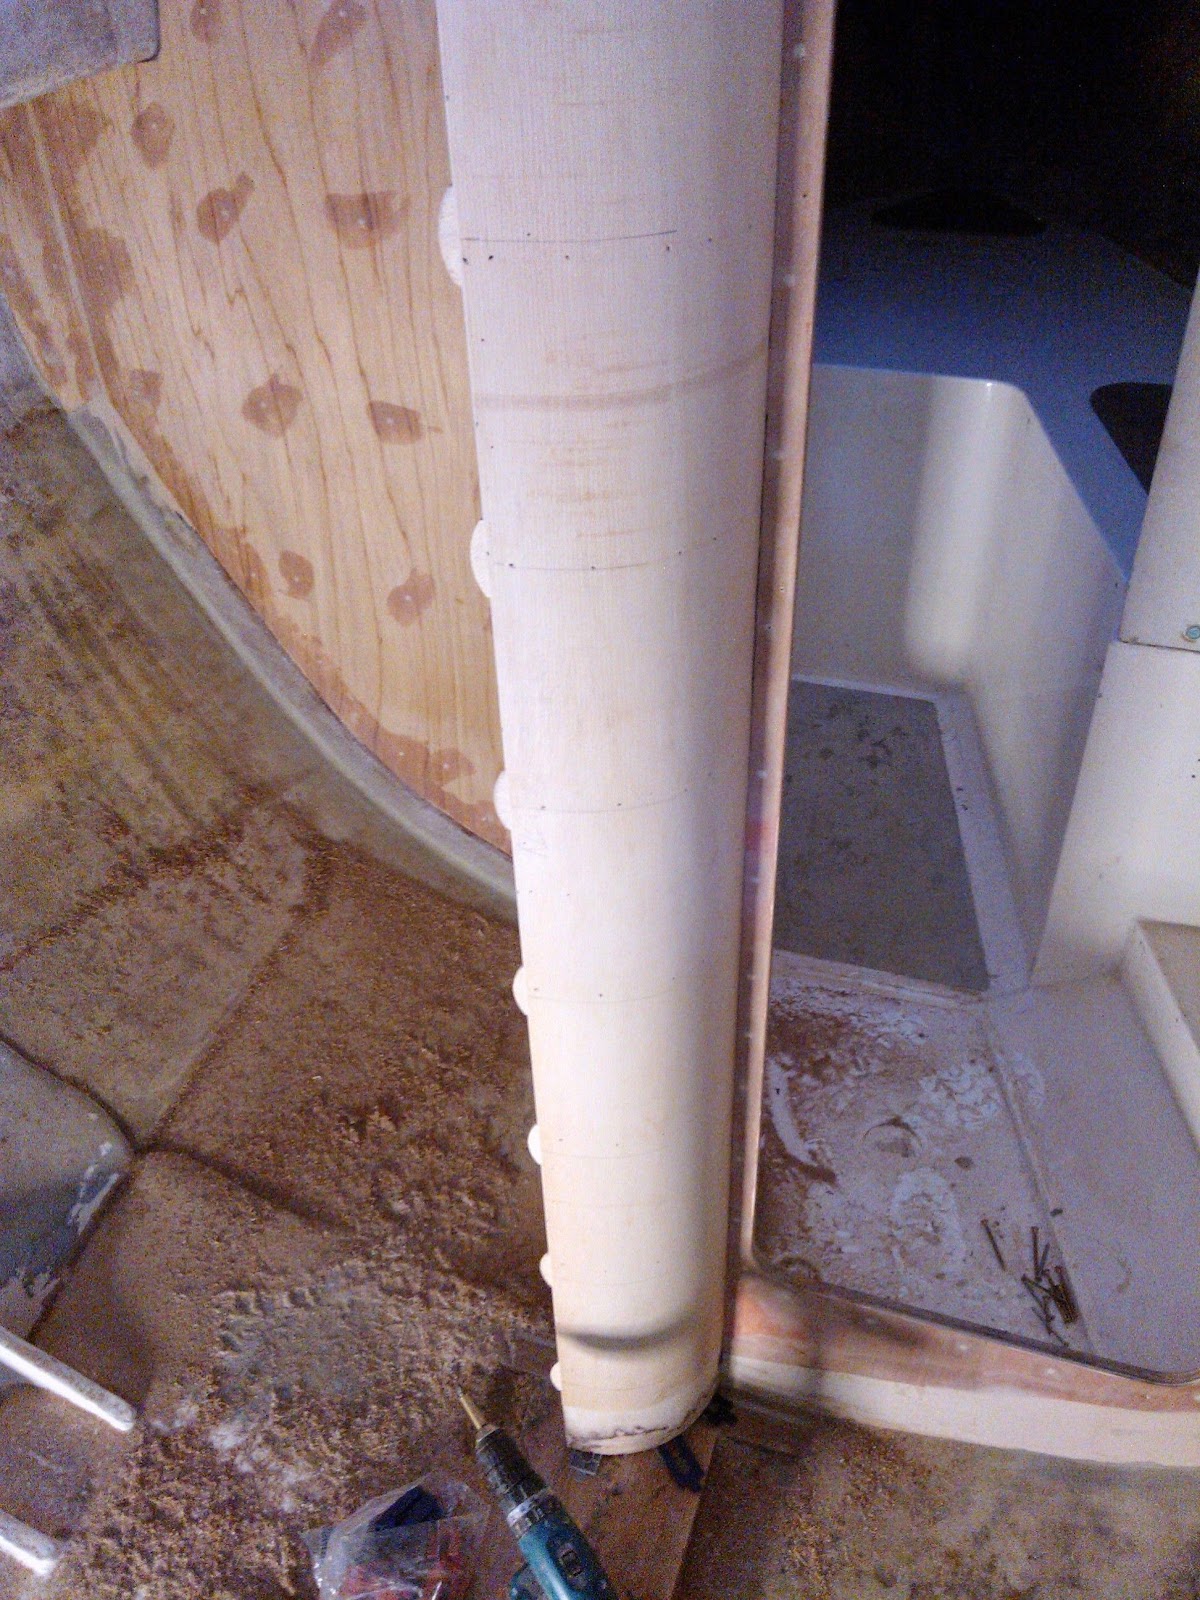
I've just finished the puzzle that was making a 150mm radius piece to fit to the main bulkhead and all i can say is it would have been way easier if this was for a domestic application. You see back in the day when we had the shop and you would get a job that required curved work you you'd make your former / jig to the net dimensions of the finished piece then run out a load of 3mm mdf to the required dimensions. 

Then coat each piece in D4 PVA load it over the former bung it in the bag, square everything up as the pressure comes on & job done, not so when its a marine application. I went the bendi ply route; and all i can say is what a huge (expensive) pain in the arse, i was told to heat it as i bent it over the former to which the first piece promptly snapped along the glassing-in line i'd cut into it.

So being of a logical, vaguely sound mind i stopped and got a few test pieces and cut loads of kerfs in the back to aid the piece taking the shape of the former and still i heard the 'crack' of failure. Really all i wanted was some 1.5mm gaboon which it seems up until recently you could get hold of, now its rarer than hens teeth as i found the big boys stock it but wont let me have any unless i take an artic's worth of the stuff (the usual unhelpful attitude thats common here in the UK,)  hence the bendi ply.

Still after messing around for what seemed like an eternity (a couple of days) i got all cave man and more out of frustration nailed it to the former, not particularly clever as it basically means destroying it to make this one piece which again is a common theme of this project...............but i want to get on.

Tomorrow i'll start making provision for this piece on the boat side of things as whats left of the main bulkhead isn't attached so need to fix that before bolting all the other side together then hopefully into the engine room and finish that off. 

Roger