
Wednesday, 28 January 2015
Tuesday, 27 January 2015
Cocks Away!!
 After spending the morning sanding the floors back getting rid of the splatters of epoxy thought i'd better make a stand about where and what the galley will be, i have decided on placing the sink and drainer nearest the companionway.
Then i've got the icebox/fridge freezer next then cooker then to the main bulkhead storage units and nav area, so after i'd looked to the heavens for answers i got the 50mm hole saw out and made provision for the engine inlet and sink outlet.
 Initially i was concerned about placing two seacocks either side of the keel stub be it quite a way back aft but never the less thought after i'd done the deed it wasn't wise.
 That was until i saw the glass cores from each hole: Jesus i know i said Westerly' were overbuilt but this is crazy as i know how thin the hull is/was around the cockpit outlets which is only a foot or so back and i know i've added to the layup but these cores are about 15mm thick!
 Still the boat now has two more slinky-looking racing seacocks which i'll glass in tomorrow onto the hull, i realised i need one more for the sink in the heads so will be getting that sorted as soon as some money makes itself available to me.
Monday, 26 January 2015

Sunday, 25 January 2015
Written piece
Paid work seems to be fizzling out already so decided to get on veneering the rest of the components pertinent to the companionway, trouble is its below freezing all the time so wasn't entirely surprised to see a few bubbles in a couple of the pieces.


All got sorted with the aid of a steam iron to re-activate the PVA which it did, i then rounded off by getting the first half of the finished floor surface down which went swimmingly so i now have a gentle curve to the floor which i will complete tomorrow and then i can install the seacocks and then the joinery.

Monday, 19 January 2015
Alright just a quick one then.
The engine hatch / companionway steps are the first to get its new coat of oak veneer and looks good on it too:


If i'm not working tomorrow i'll proceed with the rest of the bits i've made, currently got the companionway indoors so it can 'cure' in a dry environment - basically all that means is any areas that aren't stuck down properly will show up quicker so the quicker i can sort. It all went in the vac bag but thats still no gaurantee it'll pull down.
Sunday, 18 January 2015
Futuristic shrubbery.
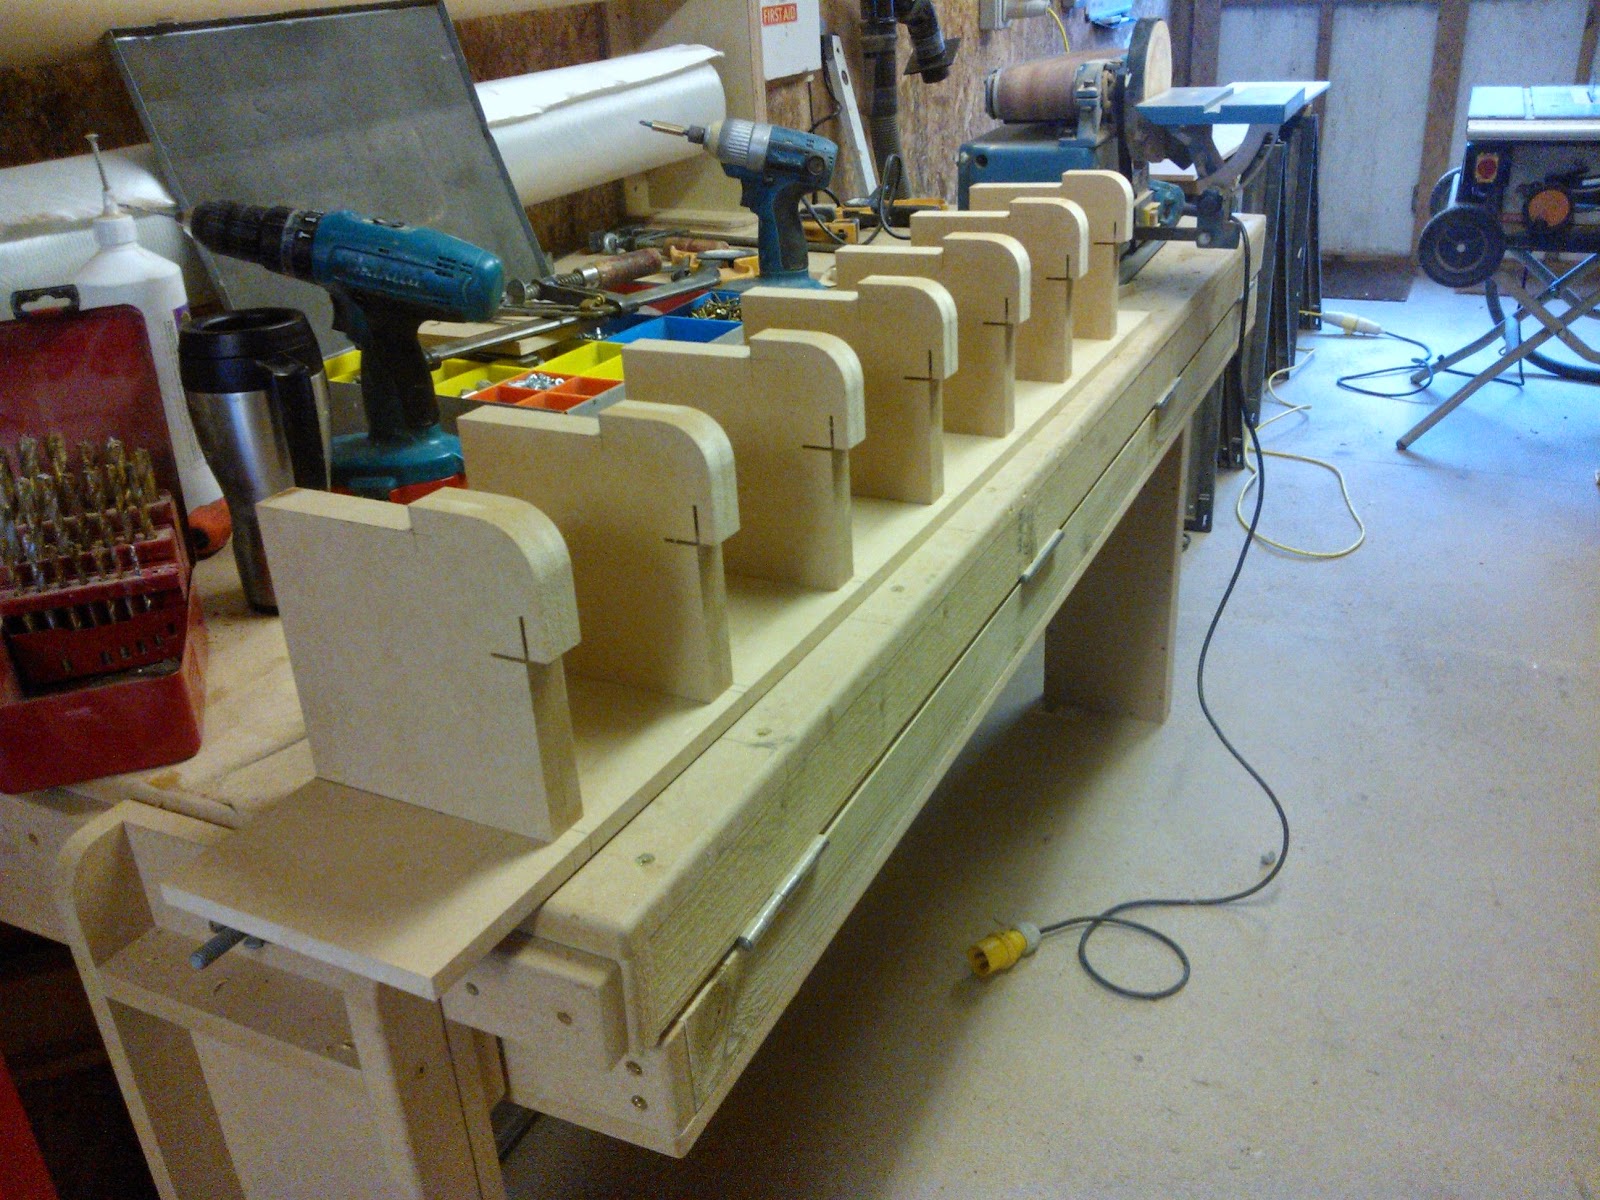
 Got the four curved panels finished today, sort of doing these in the evenings and weekends at the moment. Really bought home the KISS approach to working as it doesn't get more simple than cutting kerfs screwing the sheet of ply to the former with a batten then bending it over said former and screwing another batten to it to hold it in place whilst the epoxy kicks.
 Suffice to say got them all made over a weeks worth of evenings and with the exception of one cracking all went surprisingly smooth, the one that did crack got repaired and is fine to use. I spent this morning - be it not for very long as its just above freezing - in the shed trimming up the veneer i backed them all on so they're ready for use.
 Was abit taken aback by the shite quality of the marine ply as the one that broke had more voids in it than i've ever seen before, still this is the new future where standards of manufacture are, well anything but standard.
The plan is to start getting the modules made and clamped in the shop and then dry-fitted onboard although the companionway opening is 800mm at its biggest point so i have to be careful of what can be made outside the boat, the plan is then to get the starboard side in and accomodations made for the relavent appliances.


Saturday, 10 January 2015
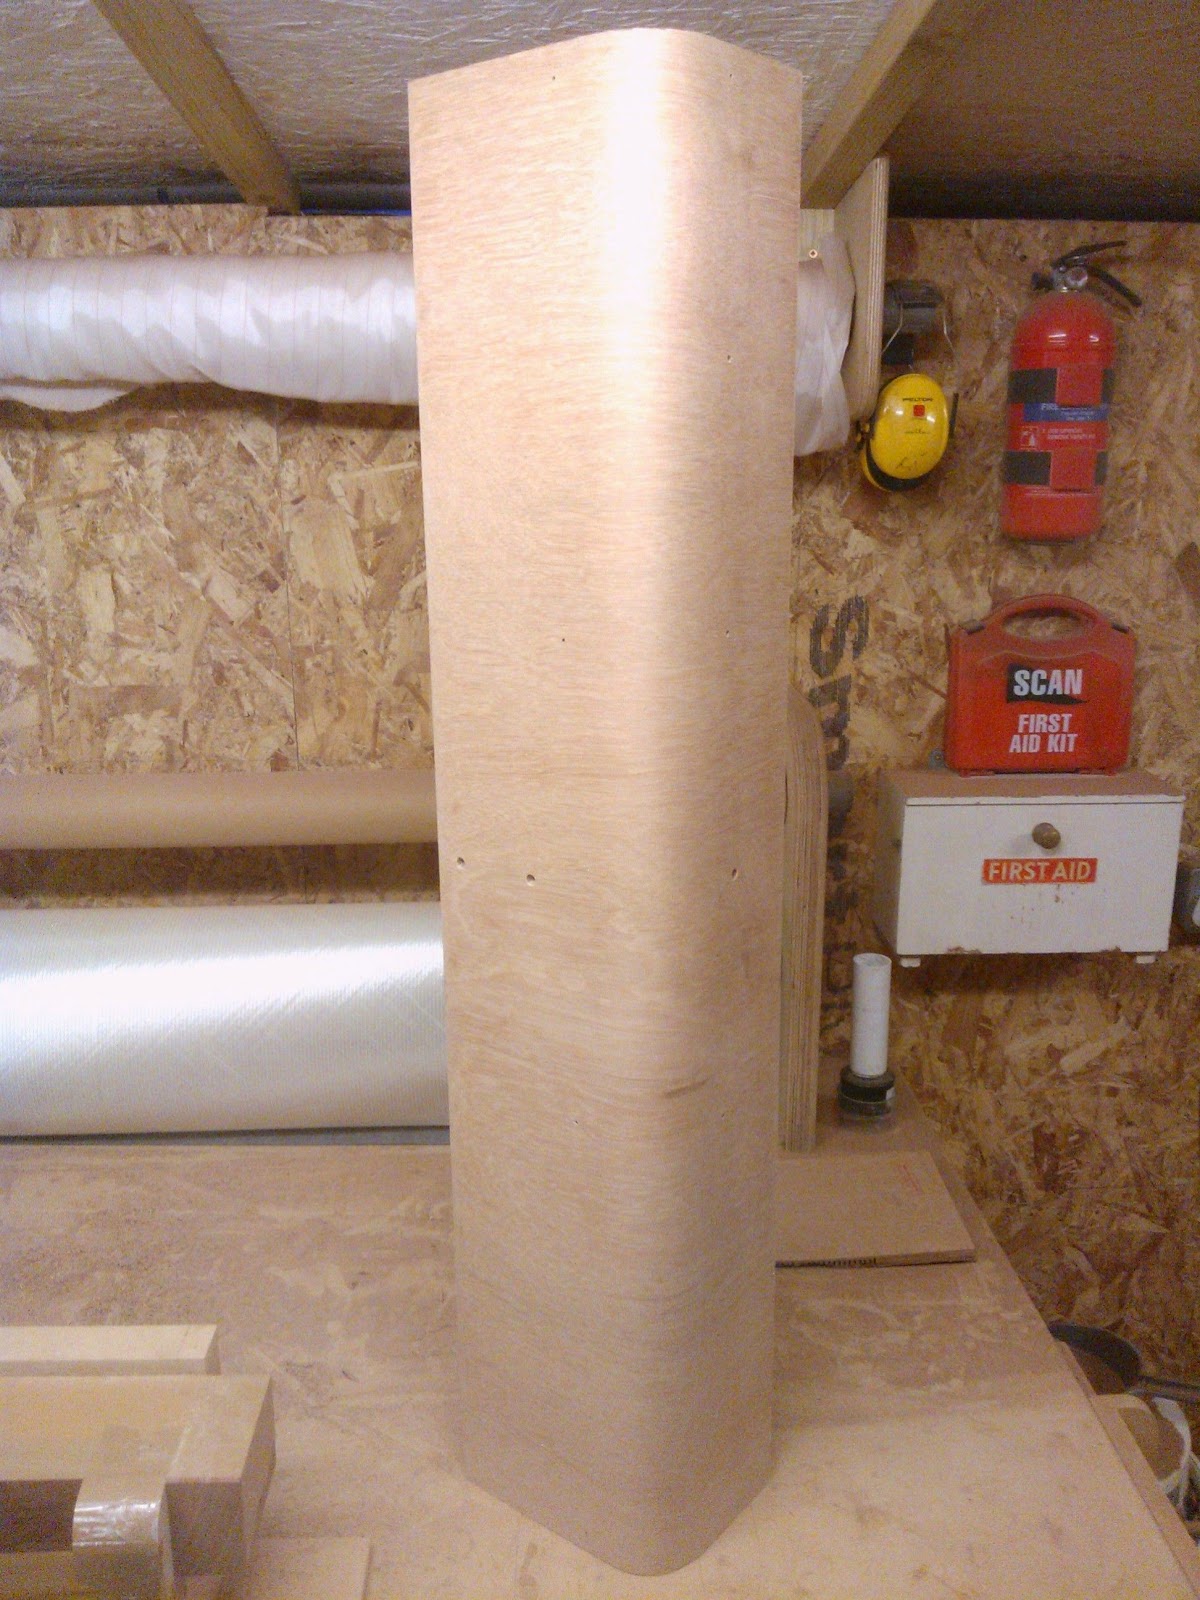
Got it!
 I remember the disappointment i felt when tackling the curved main bulkhead; nailing the flexiply to the jig after giving up trying to get the material to take the shape i wanted.
I thought initially i'd use the 1.5mm aeroply and it would just all fall into place yet after a week of cutting up much needed and costly materials i threw the towel in - panicked and nailed the piece to the jig and in the process destroyed the jig - very unprofessional.
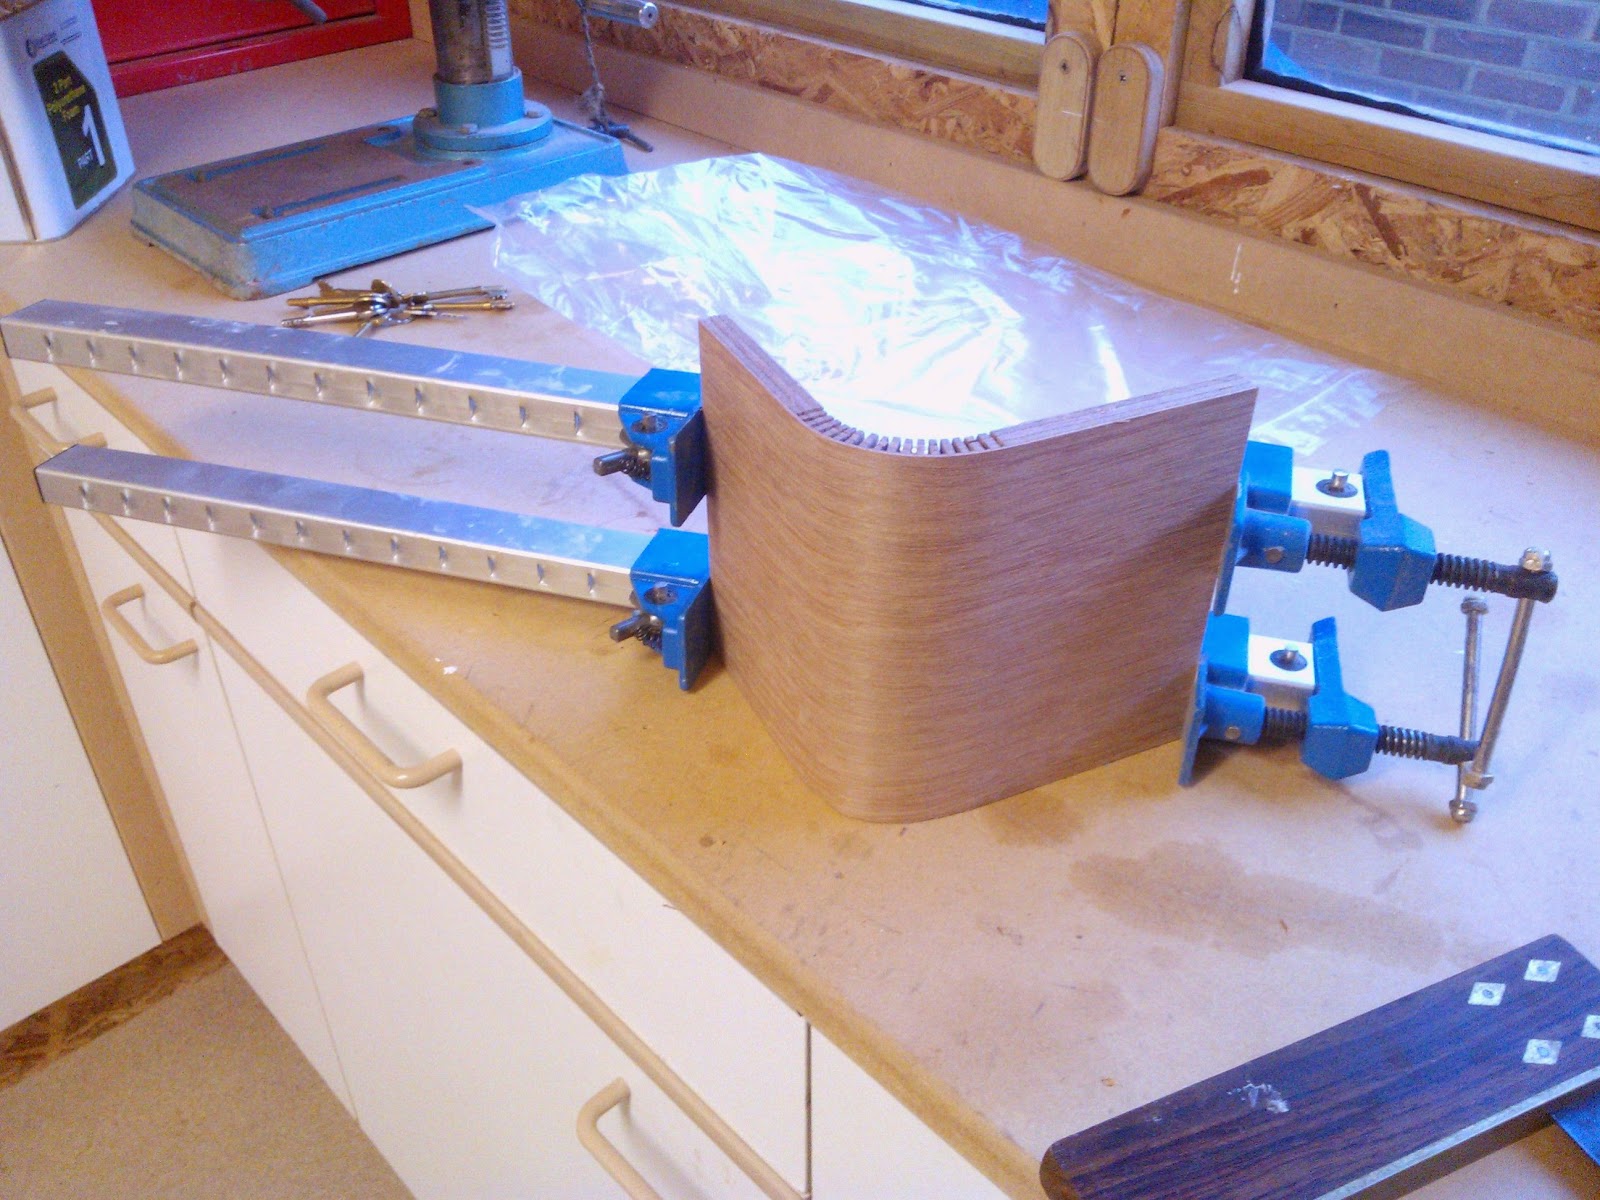
 Still seeing as i want a modern-looking 'euro' interior to the inside the thorny issue of getting ply to do what i want it to raised its ugly head, i was bolstered by an image i found whilst researching kerfing of a piece of 4 x 2 bent around 90 degrees which inspired me to have another go with a piece of 12mm ply with a certain degree of success.
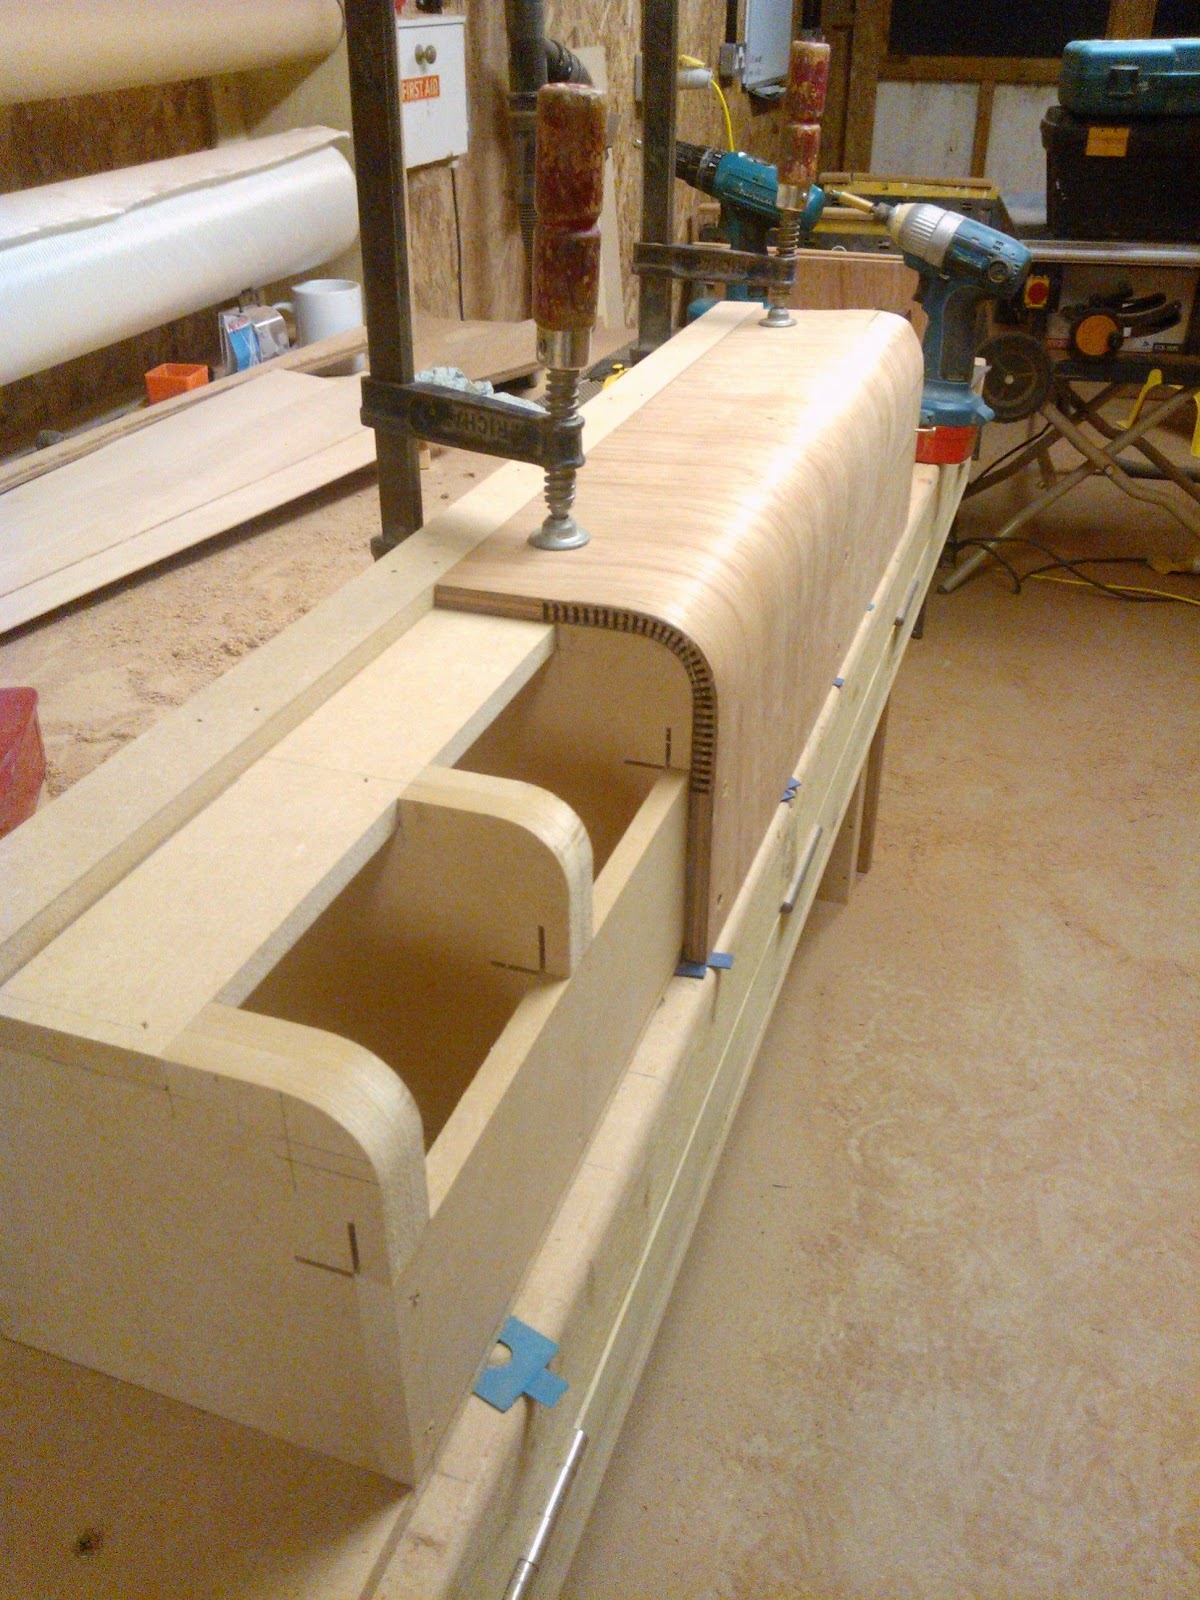 However after leaving it clamped for a couple of days little hairlines began to appear where the depths of each kerf minutely varied and eventually the test piece lost its shape and split.
Now being a stubborn fucka if a guy can get a 4x2 around 90 degrees i sure as hell am going to get the ply to do the same thing. On my first attempt i realised grain plays a major part in supporting the curve, this after two days. I realised i need the exterior grain pattern running perpendicular to the direction of the curve, got that sorted - it now bends but how far?
 Got cutting and found a reasonable solution was the spacing of each kerf to be the width of the blade - all good but when i went to pull it into a 50mm radius one end bunched up, puzzling as when you google 'kerfing' it shows a simple process of evenly-spaced cuts within a couple of mil of the edge of the work piece and it takes the shape perfectly, for whatever reason this didn't work could be something to do with the fact it was ply and not solid, who knows, plus it wasn't so much a curve as a series of facets - no good!
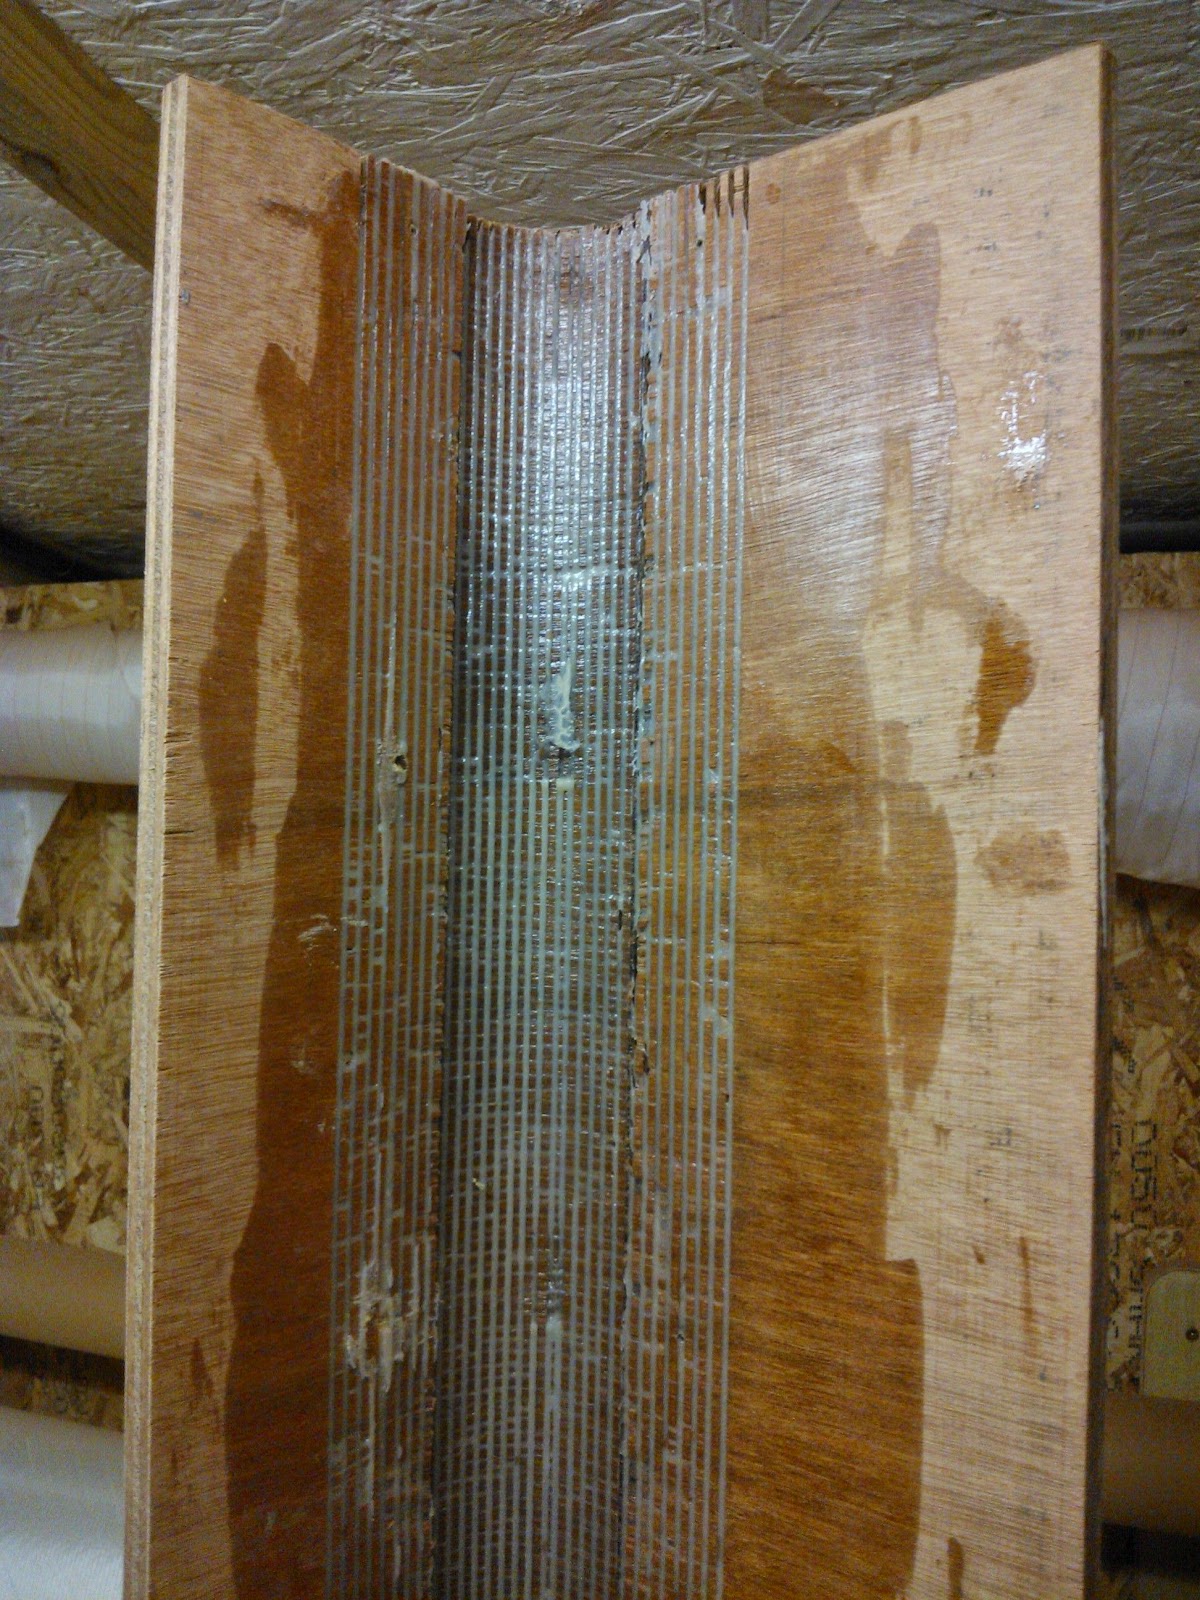 After chatting with brother Rik i routed out half the plys thickness on the inside of the radius, in this case 6mm and would you believe it the ply pulled down evenly across the jig although to maintain that i screwed through the work piece two hardwood battens one at the start of the radius and one at the end.
From this i wished i'd perservered with the main bulkhead a bit more as the flexiply is weak and so still need to add a hardwood post to the heads side to increase the bulkheads rigidity whereas if i'd made it from marine ply all be it kerfed they'd be more strength to the structure.
Happy new year!

Subscribe to:
Comments (Atom)