Sunday, 25 January 2015

Written piece

Paid work seems to be fizzling out already so decided to get on veneering the rest of the components pertinent to the companionway, trouble is its below freezing all the time so wasn't entirely surprised to see a few bubbles in a couple of the pieces.


All got sorted with the aid of a steam iron to re-activate the PVA which it did, i then rounded off by getting the first half of the finished floor surface down which went swimmingly so i now have a gentle curve to the floor which i will complete tomorrow and then i can install the seacocks and then the joinery.


Monday, 19 January 2015

Alright just a quick one then.

The engine hatch / companionway steps are the first to get its new coat of oak veneer and looks good on it too:

If i'm not working tomorrow i'll proceed with the rest of the bits i've made, currently got the companionway indoors so it can 'cure' in a dry environment - basically all that means is any areas that aren't stuck down properly will show up quicker so the quicker i can sort. It all went in the vac bag but thats still no gaurantee it'll pull down.

Sunday, 18 January 2015

Futuristic shrubbery.

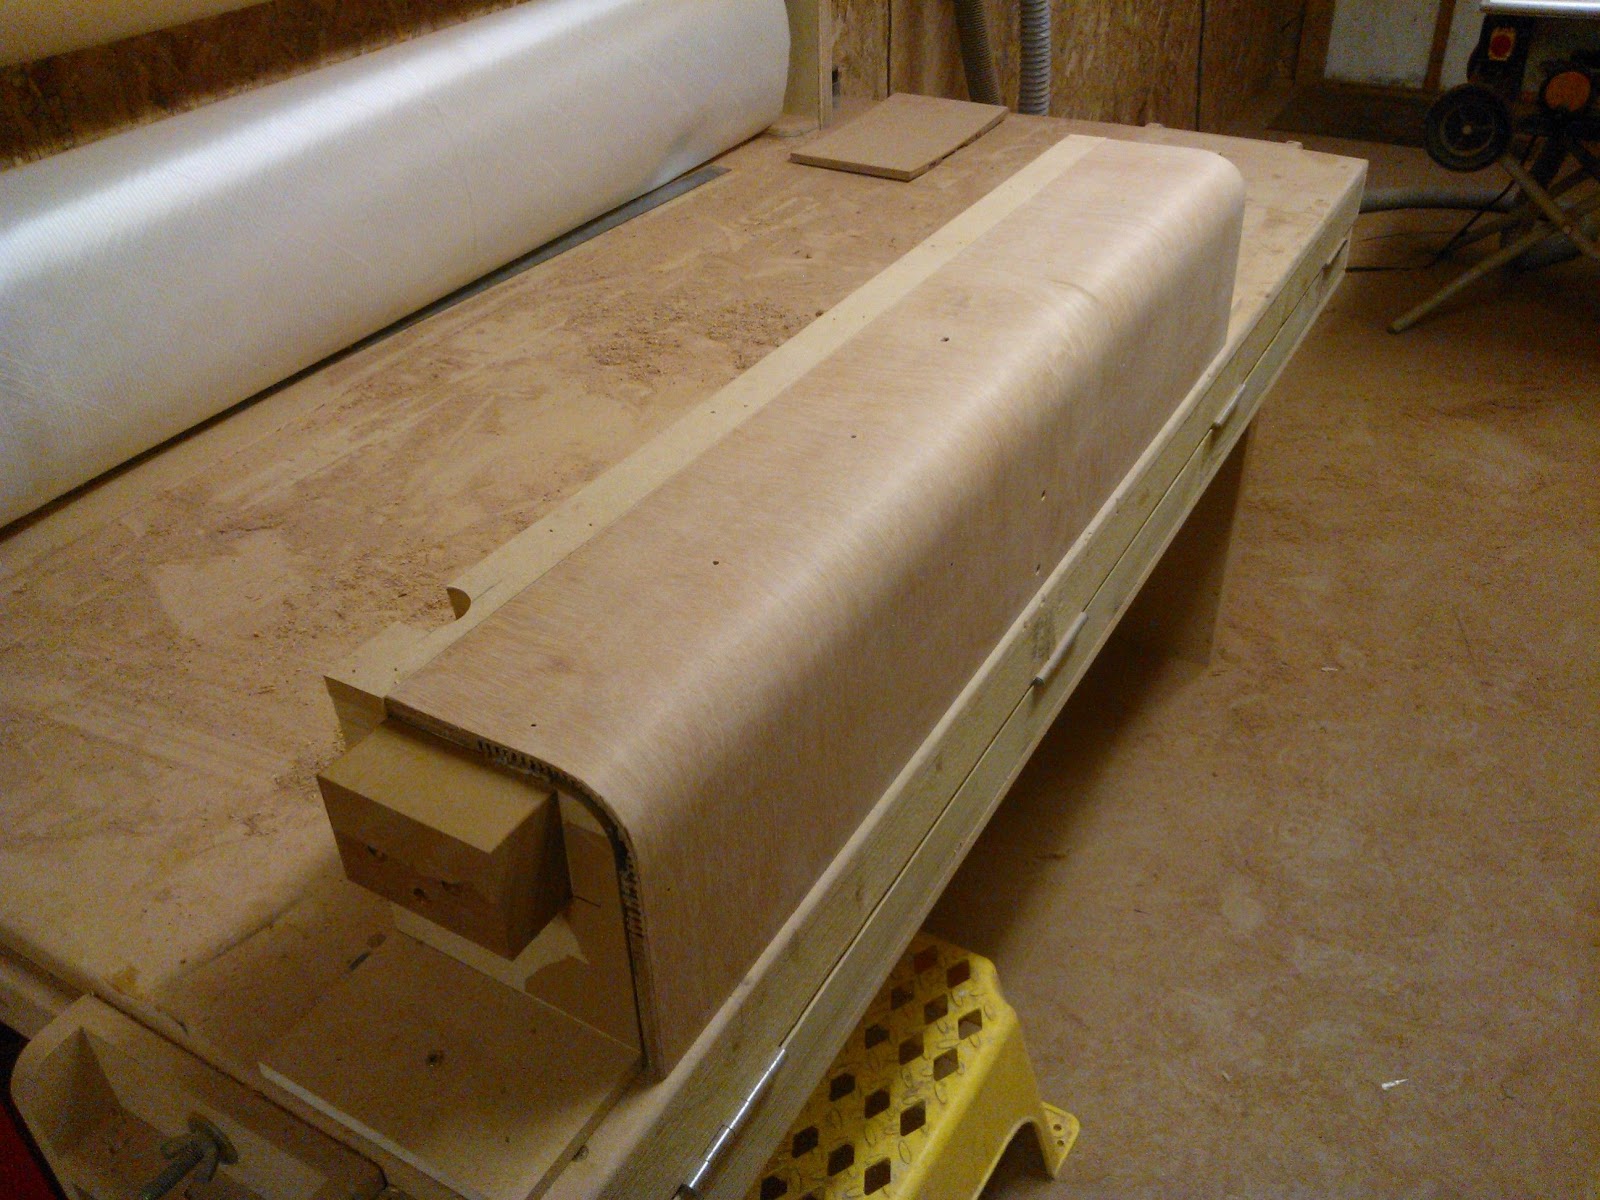
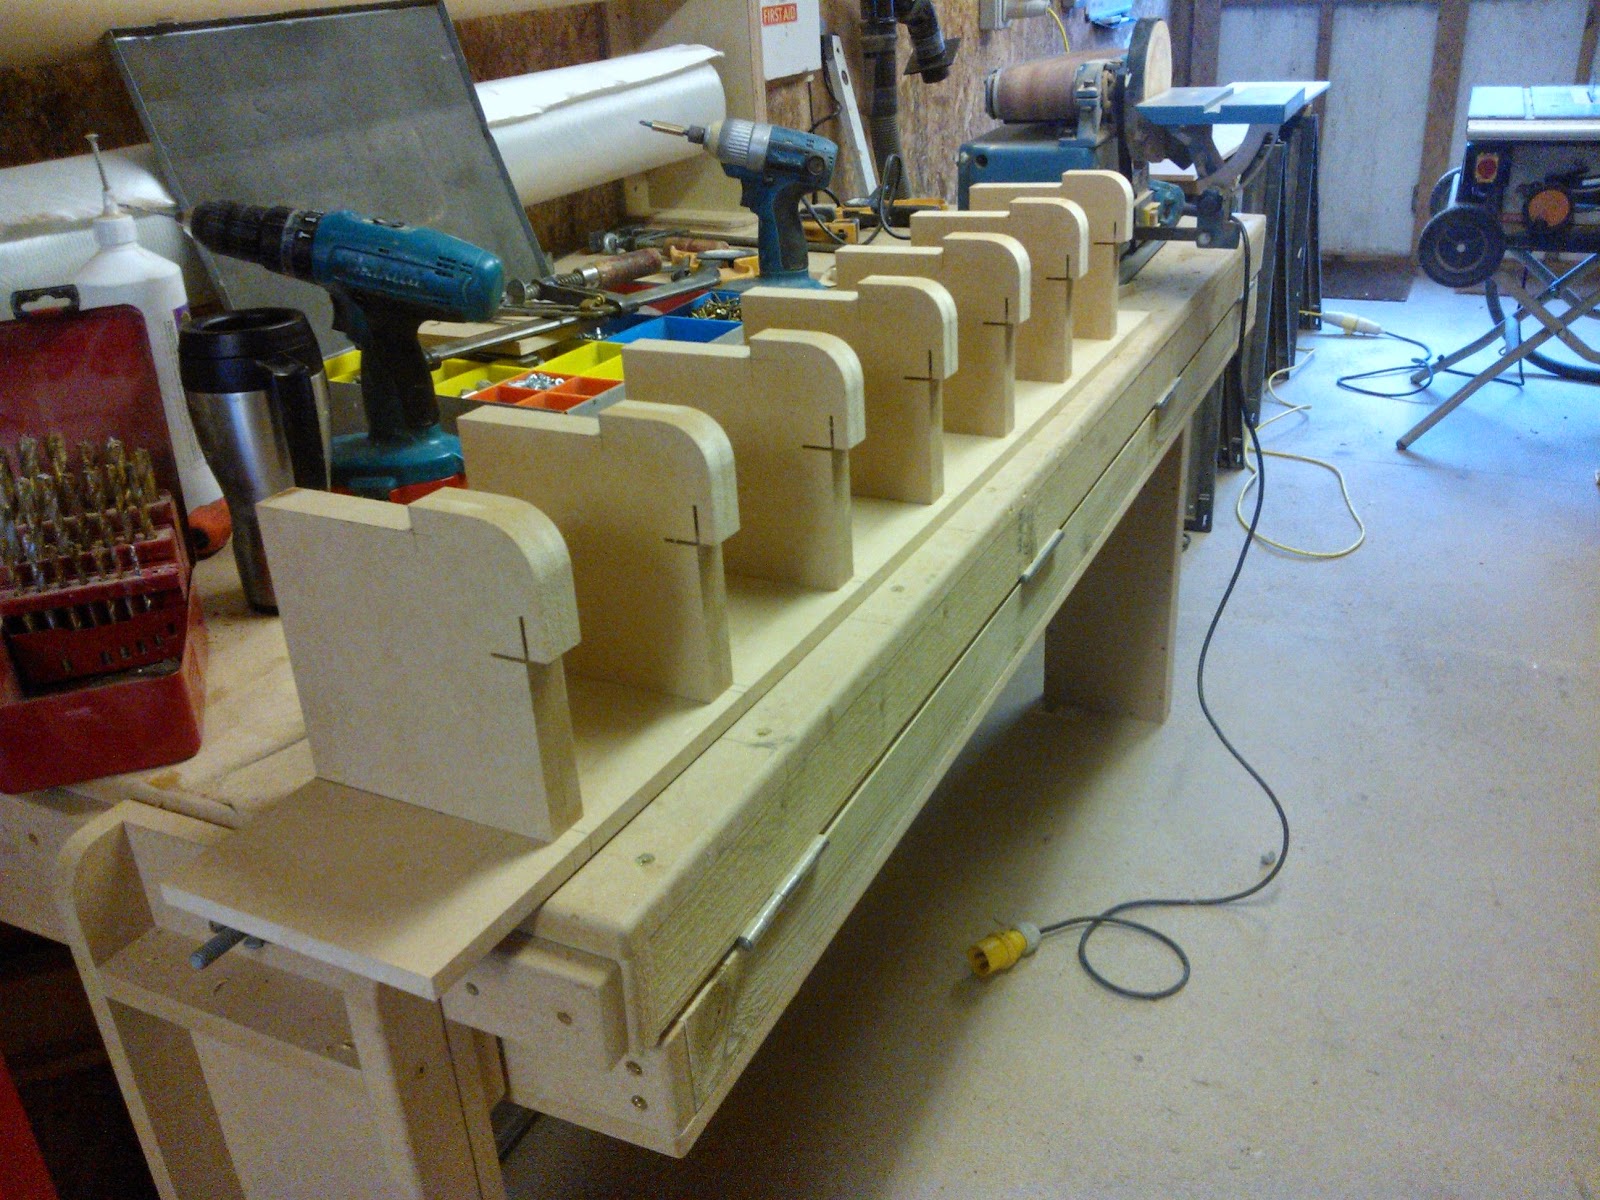
Got the four curved panels finished today, sort of doing these in the evenings and weekends at the moment. Really bought home the KISS approach to working as it doesn't get more simple than cutting kerfs screwing the sheet of ply to the former with a batten then bending it over said former and screwing another batten to it to hold it in place whilst the epoxy kicks.

Suffice to say got them all made over a weeks worth of evenings and with the exception of one cracking all went surprisingly smooth, the one that did crack got repaired and is fine to use. I spent this morning - be it not for very long as its just above freezing - in the shed trimming up the veneer i backed them all on so they're ready for use.

Was abit taken aback by the shite quality of the marine ply as the one that broke had more voids in it than i've ever seen before, still this is the new future where standards of manufacture are, well anything but standard.

The plan is to start getting the modules made and clamped in the shop and then dry-fitted onboard although the companionway opening is 800mm at its biggest point so i have to be careful of what can be made outside the boat, the plan is then to get the starboard side in and accomodations made for the relavent appliances.


Saturday, 10 January 2015

Got it!

I remember the disappointment i felt when tackling the curved main bulkhead; nailing the flexiply to the jig after giving up trying to get the material to take the shape i wanted.

I thought initially i'd use the 1.5mm aeroply and it would just all fall into place yet after a week of cutting up much needed and costly materials i threw the towel in - panicked and nailed the piece to the jig and in the process destroyed the jig - very unprofessional. 
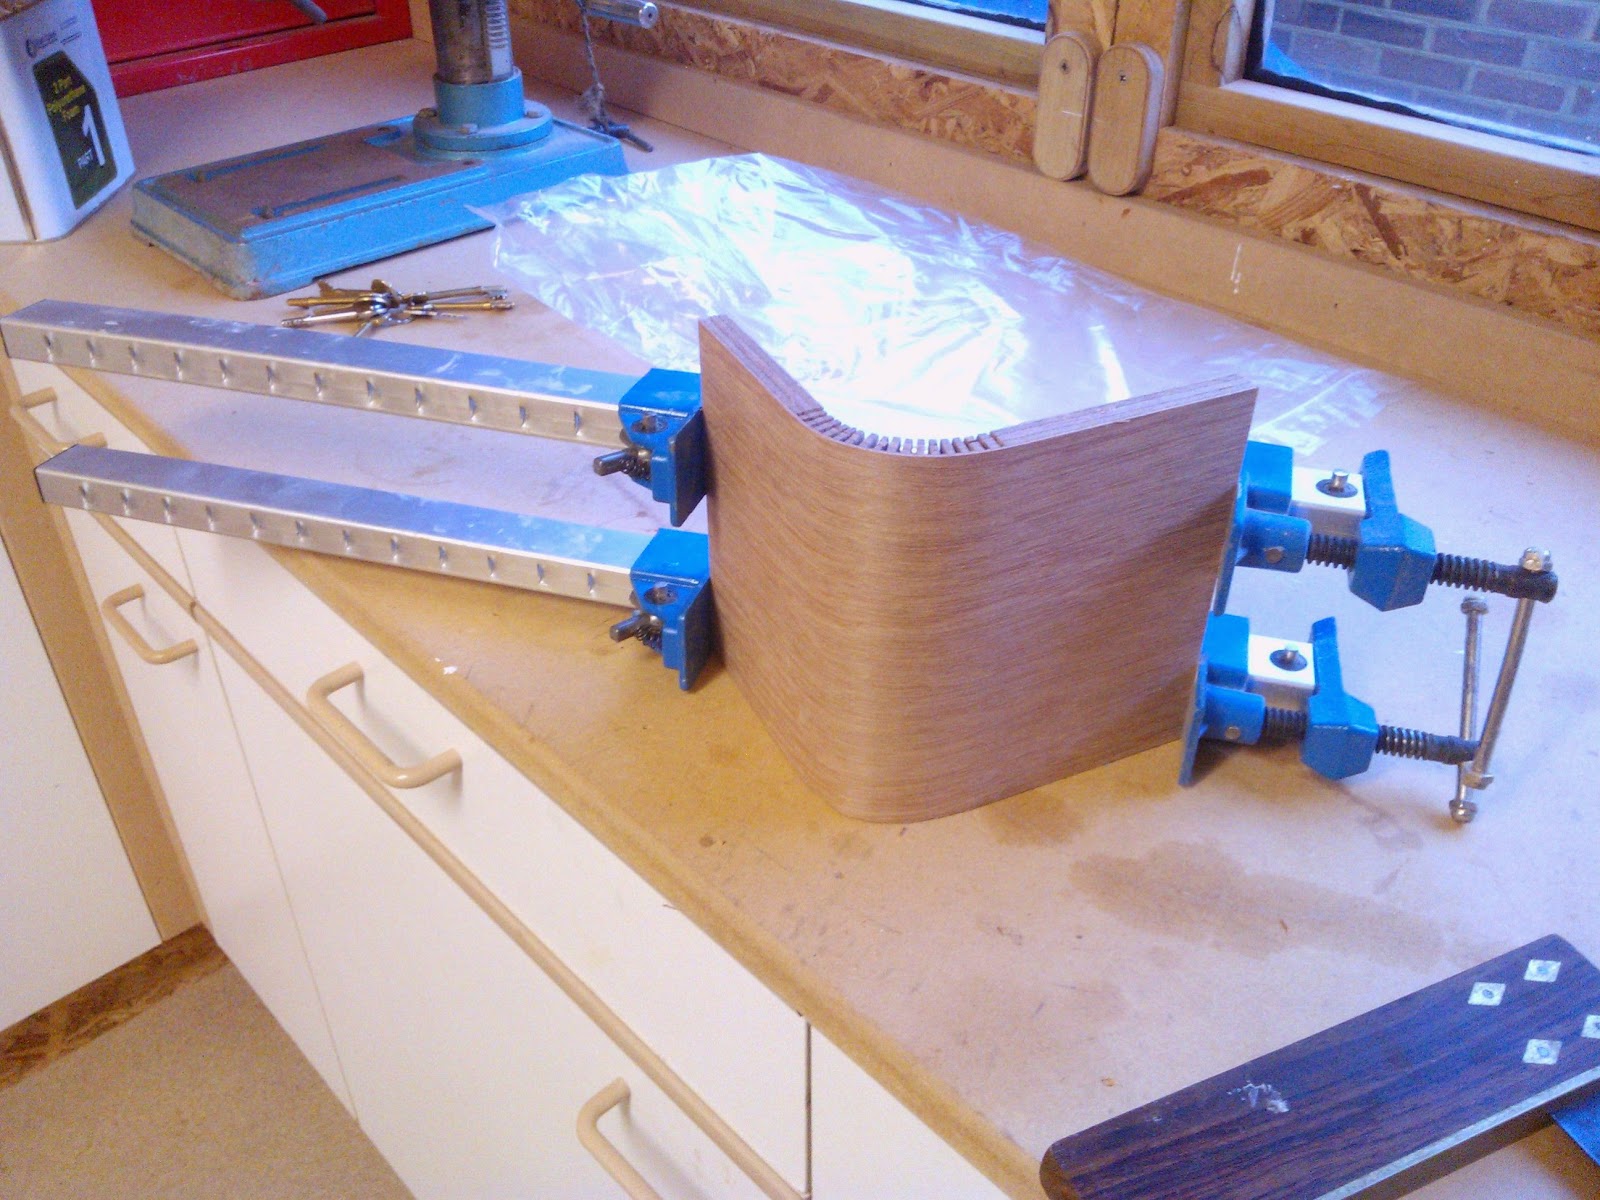
Still seeing as i want a modern-looking 'euro' interior to the inside the thorny issue of getting ply to do what i want it to raised its ugly head, i was bolstered by an image i found whilst researching kerfing of a piece of 4 x 2 bent around 90 degrees which inspired me to have another go with a piece of 12mm ply with a certain degree of success.
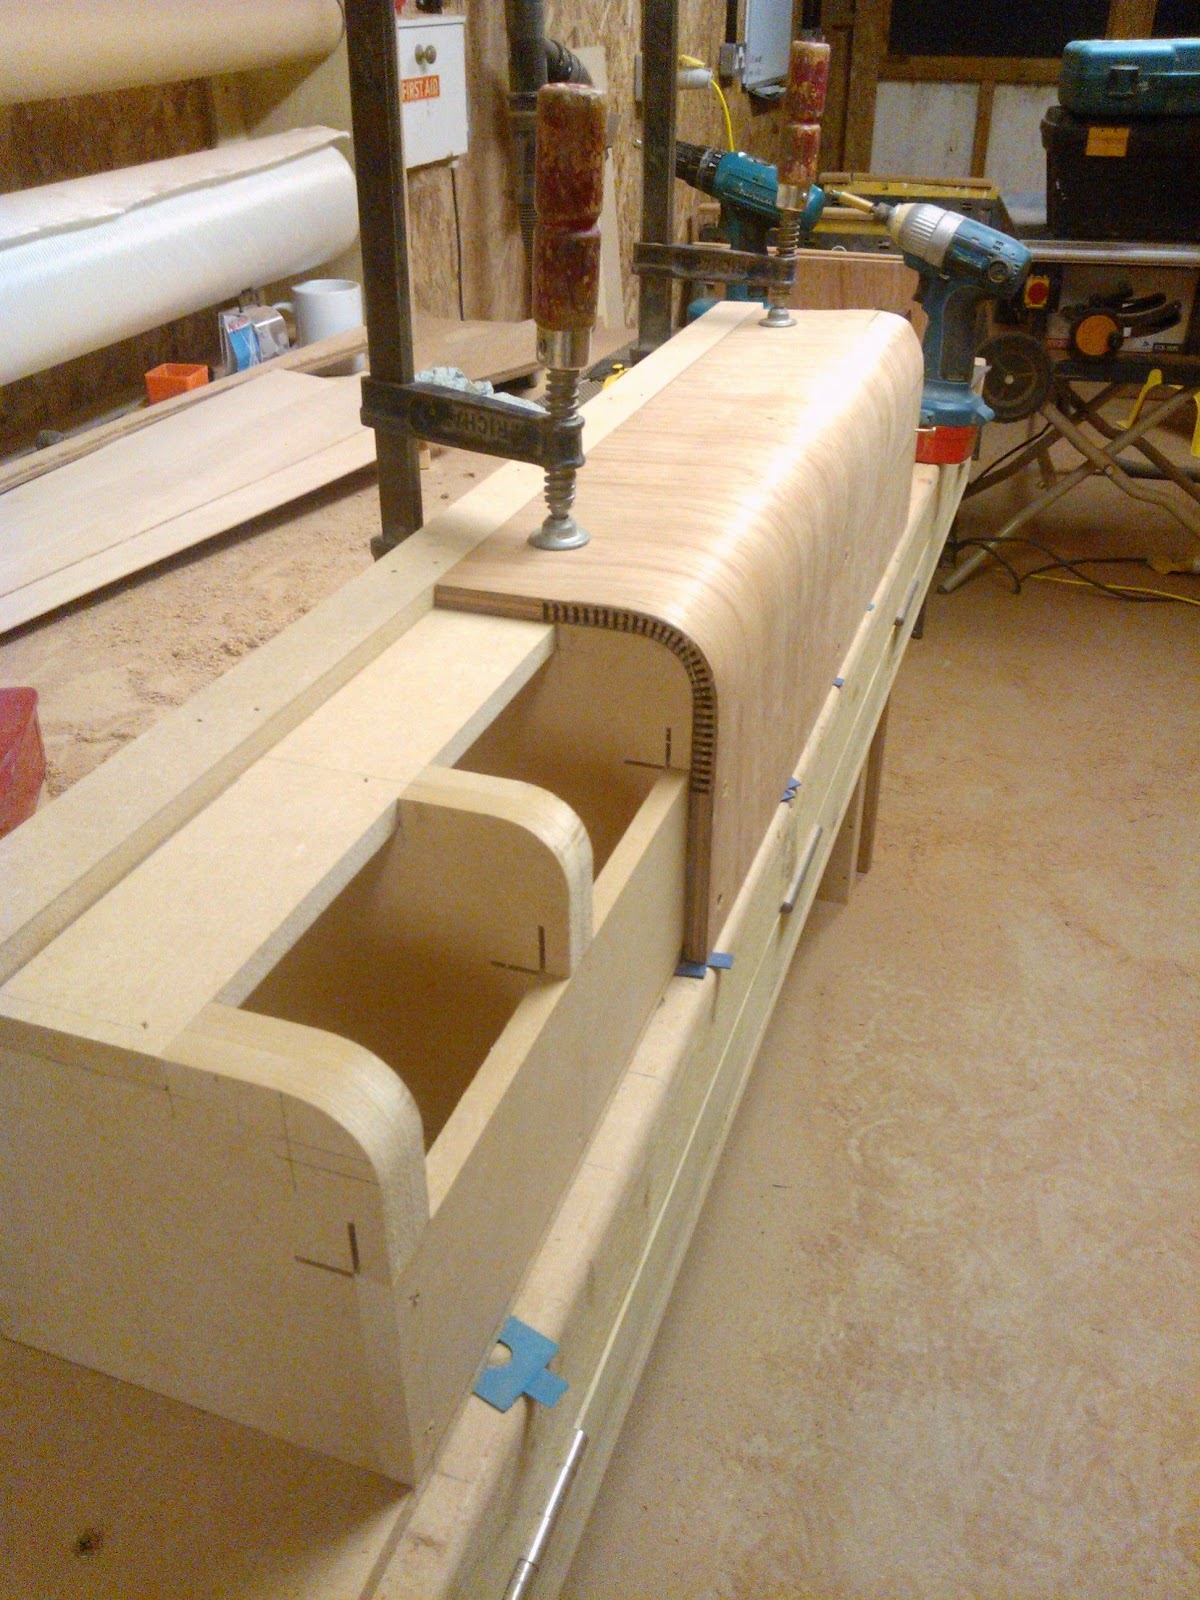
However after leaving it clamped for a couple of days little hairlines began to appear where the depths of each kerf minutely varied and eventually the test piece lost its shape and split.

Now being a stubborn fucka if a guy can get a 4x2 around 90 degrees i sure as hell am going to get the ply to do the same thing. On my first attempt i realised grain plays a major part in supporting the curve, this after two days. I realised i need the exterior grain pattern running perpendicular to the direction of the curve, got that sorted - it now bends but how far?
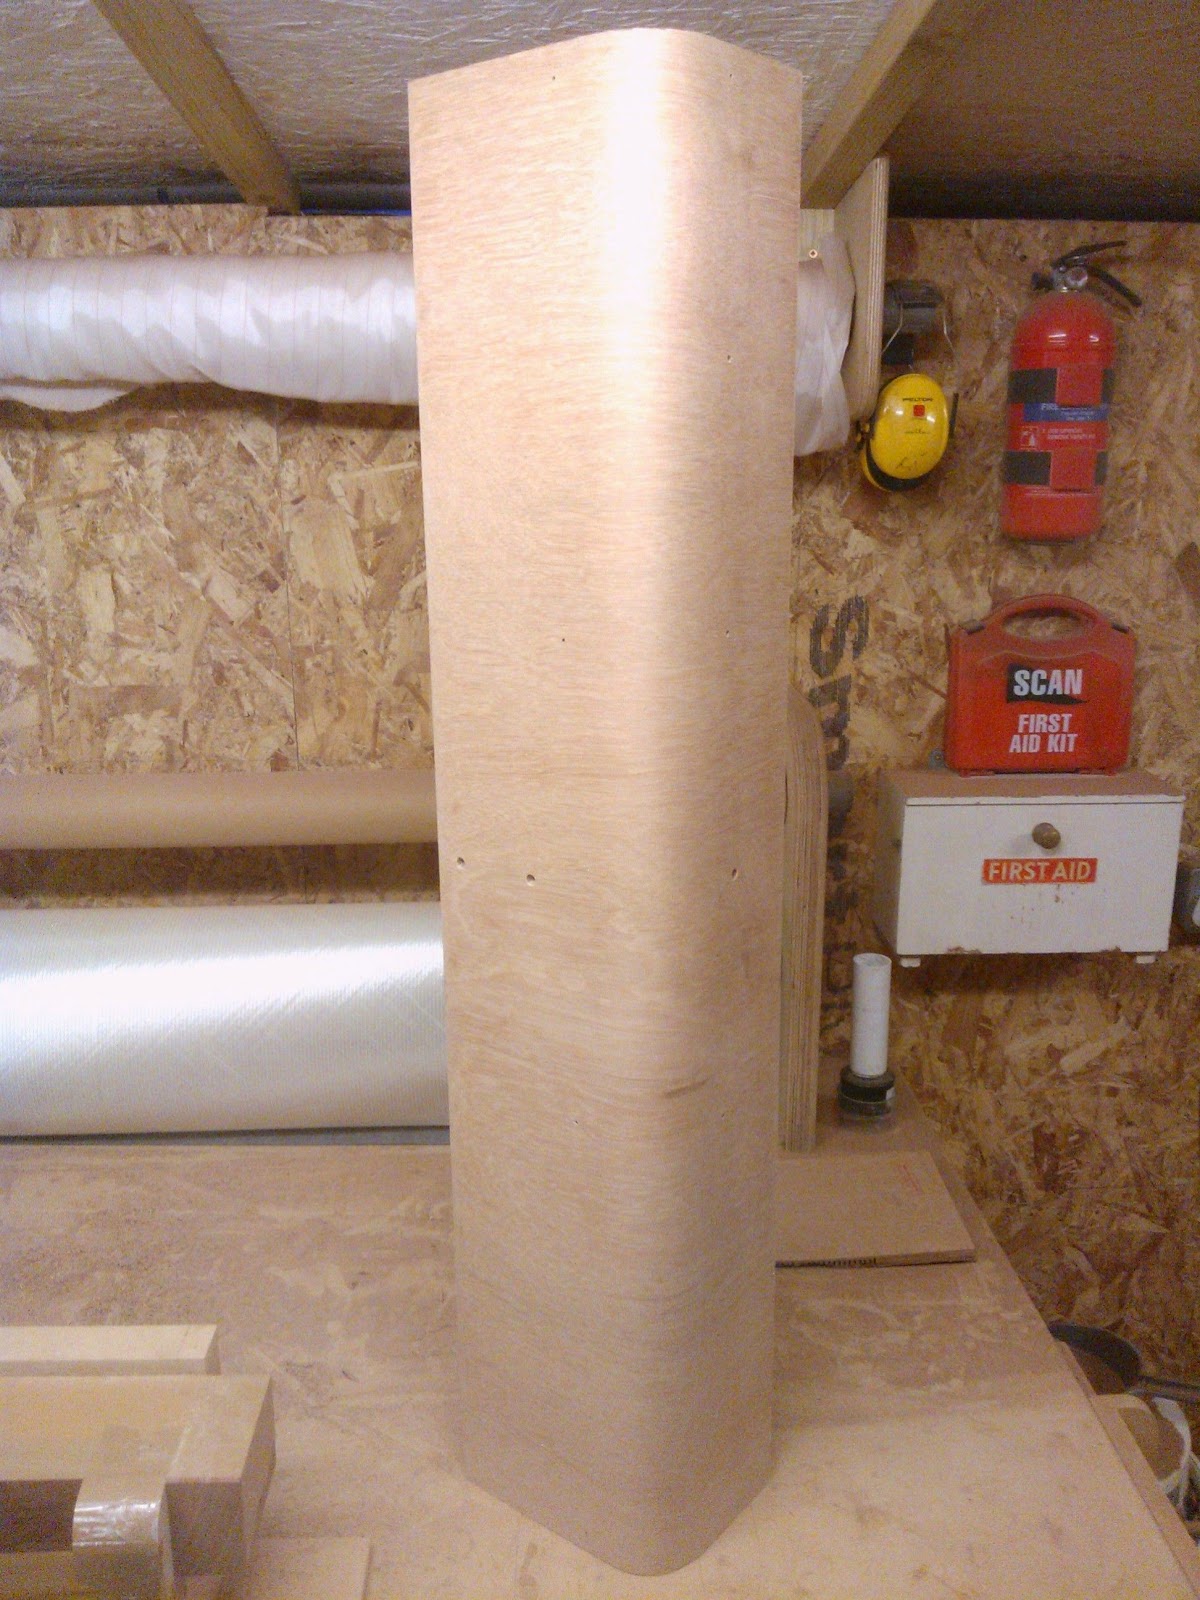
Got cutting and found a reasonable solution was the spacing of each kerf to be the width of the blade - all good but when i went to pull it into a 50mm radius one end bunched up, puzzling as when you google 'kerfing' it shows a simple process of evenly-spaced cuts within a couple of mil of the edge of the work piece and it takes the shape perfectly, for whatever reason this didn't work could be something to do with the fact it was ply and not solid, who knows, plus it wasn't so much a curve as a series of facets - no good!
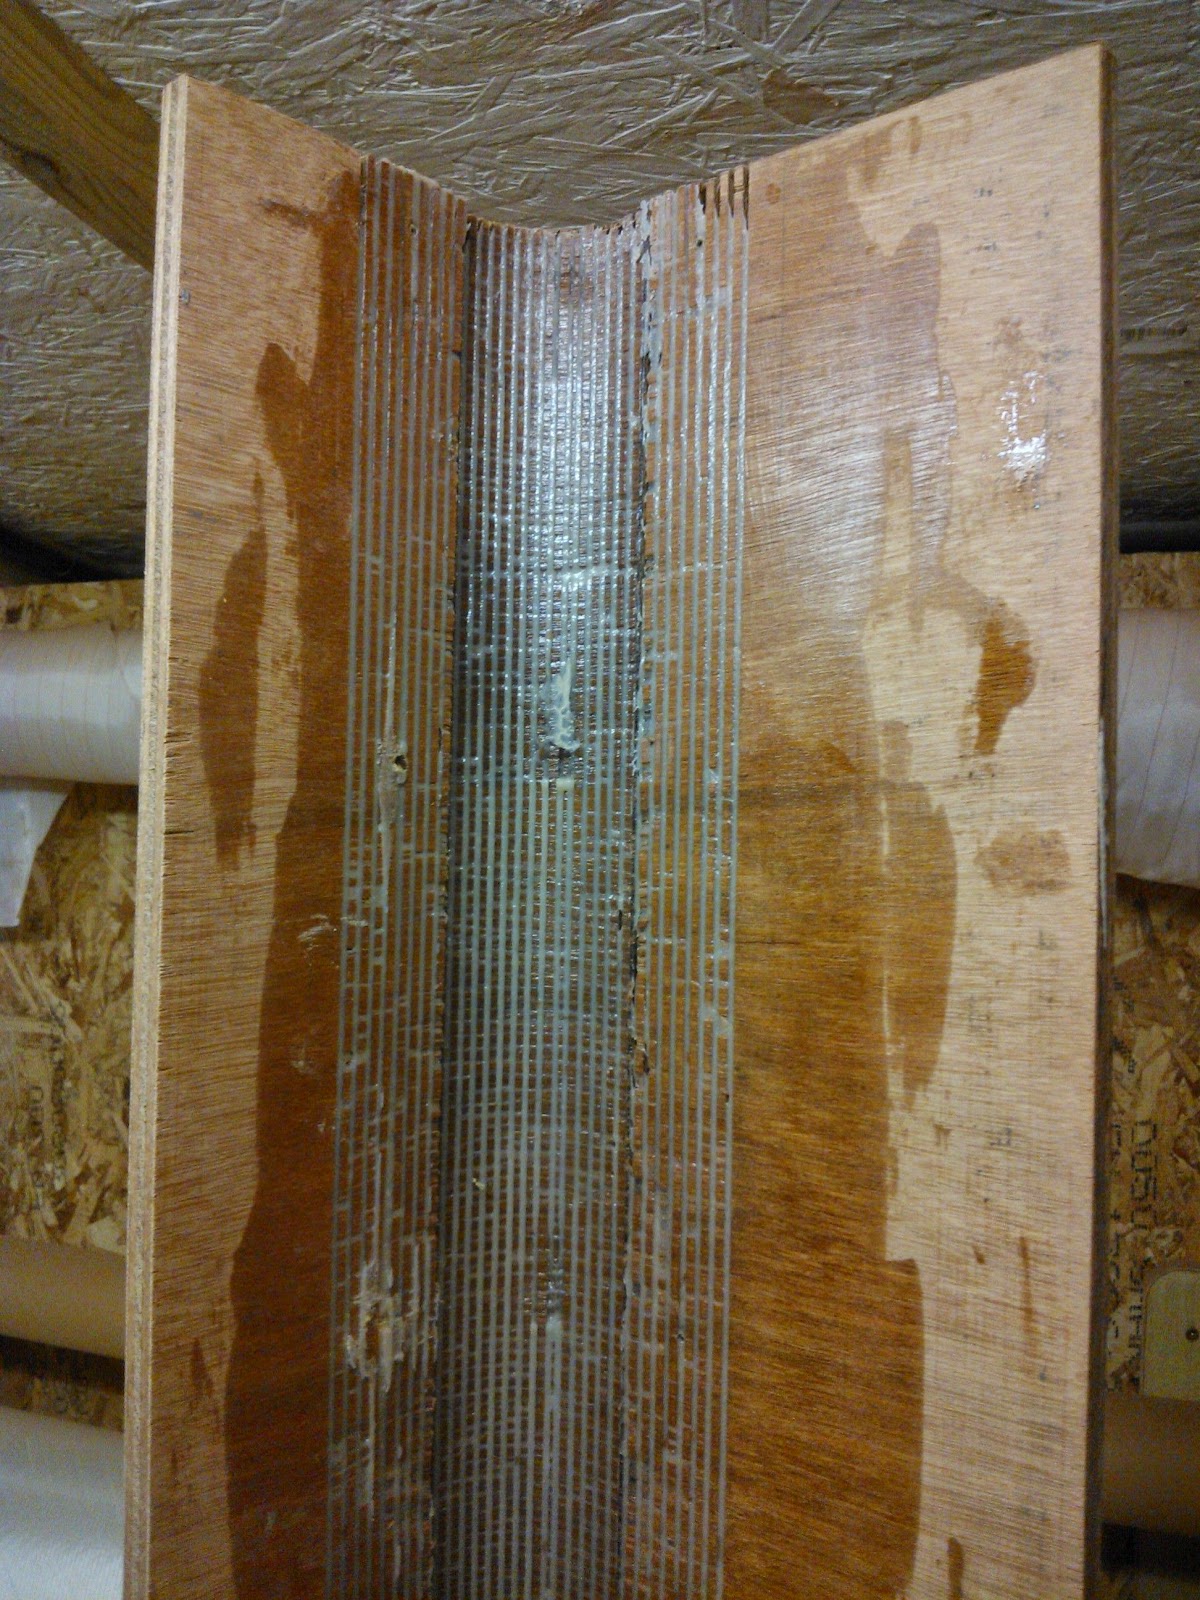
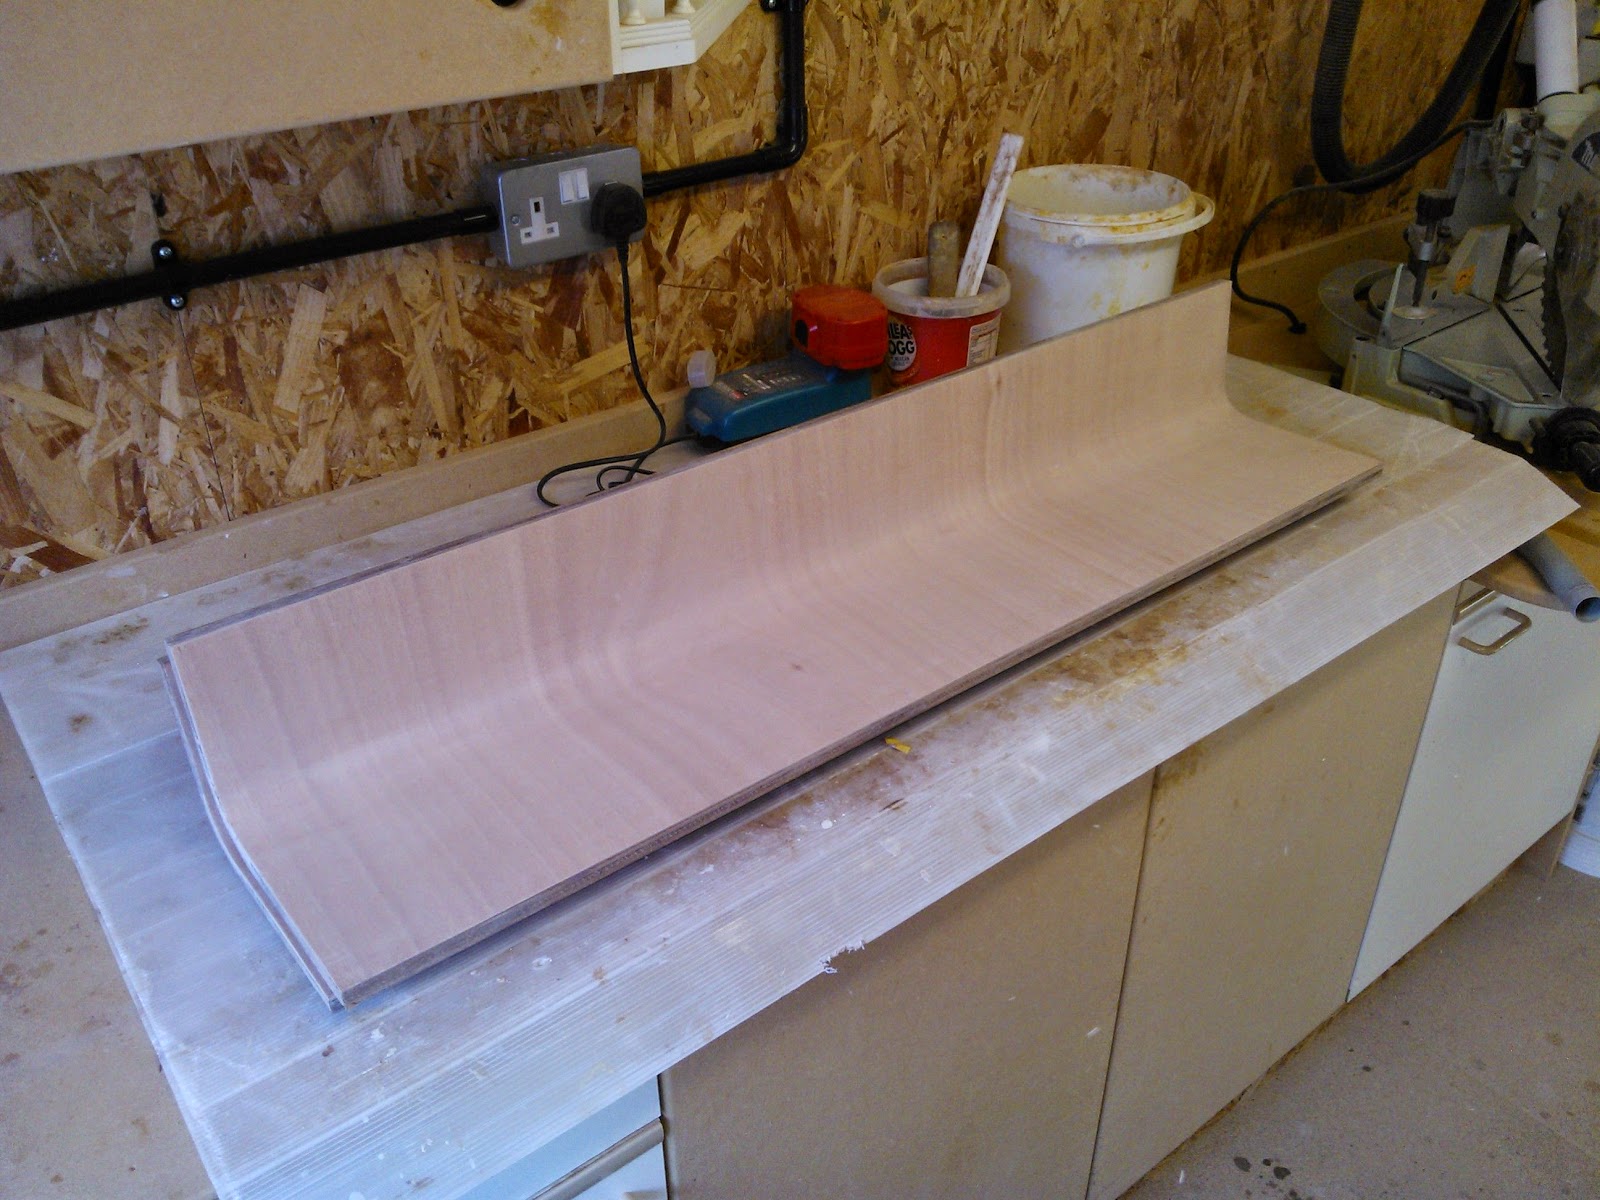
After chatting with brother Rik i routed out half the plys thickness on the inside of the radius, in this case 6mm and would you believe it the ply pulled down evenly across the jig although to maintain that i screwed through the work piece two hardwood battens one at the start of the radius and one at the end.

From this i wished i'd perservered with the main bulkhead a bit more as the flexiply is weak and so still need to add a hardwood post to the heads side to increase the bulkheads rigidity whereas if i'd made it from marine ply all be it kerfed they'd be more strength to the structure.

Happy new year!


Wednesday, 24 December 2014

MERRY CHRISTMAS TO ONE AND ALL!

Enjoy your holidays and see you in the new year, I won't be posting much in the first few months of 2015 as i'm back to paid work next week but feel free to check out the blog and leave comments.

Roger  

Monday, 15 December 2014

A step forward

This last week and today has been spent making a new companionway, again as its a jigsaw puzzle where the position of all the pieces are known to someone else certainly not me i realised a few weeks back the companionway is a pivotal piece of joinery which will determine where the galley starts and also where the battery compartments display panel will go hence i got the lid scribed and fitted then stopped to build the companionway. 

I wanted the door to stay attached as it being of such a wieldy size i dont like the idea of it sitting around loose while you work on the engine so a trip to the local builders merchants got me two polished 304 stainless butt hinges, the gas struts will have to wait until finances improve or i go out back out to work full time.

Speaking of which having killed a couple of sheets of ply needlessly  well not needlessly but trying out different ideas with the tanks i now have concluded its easier on my pocket to prototype in MDF and then nip, tweak and fettle till i'm happy with the overall theme then transfer everything to marine ply, also went wild and bought new blades for the table saw and circular saw as it was getting silly with the quality of the cuts i was producing. Got so bad thought of asking the neighbour but one if i could borrow a rifle to cut the boards with.

Stopped midweek for a day after receiving an email the previous weekend asking for some help on a Westerly with the pox which i duely did, the guy should now be well on the way to getting his boat back to health.
Then it was back into all things companionway based, now i constantly scour the net for ideas and had some pretty wild ones for these steps but you know what, at the end of the day you can't beat simplicity and also time so the brief was simple: dimension the old steps and reproduce it to suit the new.

And having the bonus of all the materials i required in the form of some old unused window sill boards i got to work today running them through the planer having finished building the cabinet surround and panel by the end of last week.

All that left to finish is to veneer the front of the cabinet and make and fit the cheek pieces which i'll do tomorrow.


Sunday, 7 December 2014

A little bit to show.

Haven't achieved a great deal this week, but got a bit further along and ticked a few more things off my mega list; these included building and mounting the lid for the battery box, making up plywood panels to section off the different lockers under the cockpit* and making the box that the galley module will sit on.

*This was a pain in the arse as the space i'm working in is 2/3rds the size of me, i swear when i sectioned the cockpit when i made all those lockers it was a darn site easier than i find it now as more than a couple of days in there and my knees swell up - weird!

Still thats done, just needs a couple of coats of white but seeing as its so cold in the shed and i don't want large heating bills i may wait to paint these bits, the big job i started on Thursday after finishing the battery box for now was the galley box.

To be more precise the foundation the galley will sit on, i had to make it so it so access was maintained to the keel bolts although considering the spreader plates are bonded to the stub floor theres not a lot you can do other than tightening the nuts, if any 'big maintanence needs doing it'll mean an air saw and lots of swearing but i try not to think of these things now.

Didn't get it totally finished today but will have it bonded to the hull and wrapped to tomorrow. Again i've realised there's an order to the chaos in so far as i can't build out the galley until the companionway is built seeing as that will abutt the galley and the battery /electrical are on the other so will get that in then sort the floor out whilst trying to keep the ply waterproof.

Its not worm proof thats for sure as i routed out the 2mm strip to take the glass tabbing to find loads of 1mm lines in the lamination below all in random directions.

Until the next time.