Cheers.
 Still pushing on, although didn't get the forepeak finished, its all bolted down, epoxied, bedded and tabbed to the boat, this after endlessly veneering and capping everything - man that got tedious by the third day, see i originallythought i'd have it all done in a week and yet two weeks on still not complete.
  I think in this particular case its due to the confining space of the forecabin on these boats and i'm waving sheets of ply around that are 900mm x 900mm and trying:
 Also to add to the tension is the fact you're stooped (5ft headroom) and because of the new arrangement a mile from where you need to be, much easier walking around all three sides in the shop but when in place its a ball ache to lean over to check joints have pulled up and wafers have stayed in place. I cured that problem with several plywood straps to hold them together then fired what seemed like box after box of wood screws into predrilled and countersunk holes.
 I'm also looking for a 2k clearcoat to do the interior with, if anyone has any ideas post in the comments section cheers, as after paying £40 a litre for the hempels to do the windows with i realise i'll go broke again based on how much interior joinery there is to coat plus i want some thing quick drying and sprayable too
 A few pics from today.

 So what to do?, the list is long but i'd started the forepeak on my last break so commited to finishing it, this would involve opening up the moulding enough to get new structure over the top of it without excessive weight hence cutting alot of the old glass away.
 Still too late now but seeing how small the bulkhead opening is in the forepeak and the size of ply to go in there i basically stared at the problem for half a day figuring in which direction to cut the boards so as to fit in the space whilst reducing weaknesses from said joints to a minimum.
 Still, one bonus of the job was discovering a rather large locker in the bow, from looking at earlier models than mine this was the original chain locker, this wouldn't be needed for such a purpose on mine so decided to enlarge the hatch from modest to feckin' huge. I did the same with the lockers either side of the berth so i can make framed locker lids in much the same vain as the saloon berth.
 One observation i made too today is how high the floor is in the space where the heads and hanging locker is so will have that out this week or next to take the crick out of my neck, theres at least 3" extra headroom to be had and i'm having it!
 Well i've written and now proof-read my Encylcopedia Centauranica, might get it bound later, still after going through everything, absolutely every last job i realised a glaring omission - the water tank.
  Thing was, and much like the foredeck when i cut that away, after i had joined up all the cuts i presumed it would just come away - wrong! Cue some quite 'salty' language as my fingers kept getting pinched whilst trying to get a chisel into the cut grp, still i persevered and was rewarded eventually.
 Having made the hole i originally cut wide enough to get my arms down each side of the tank i ripped it from its base, turns out and i haven't figured out how they did it, they tabbed the tank to the underside of the berth base, bizarre.
 Been working up in Oxford recently. but having had three straight weeks of near continuous frustration and intransigence courtesy of the job i decided to take a little time to catch up on a few things back home as well as a few bits on the boat, or the keels to be more precise.
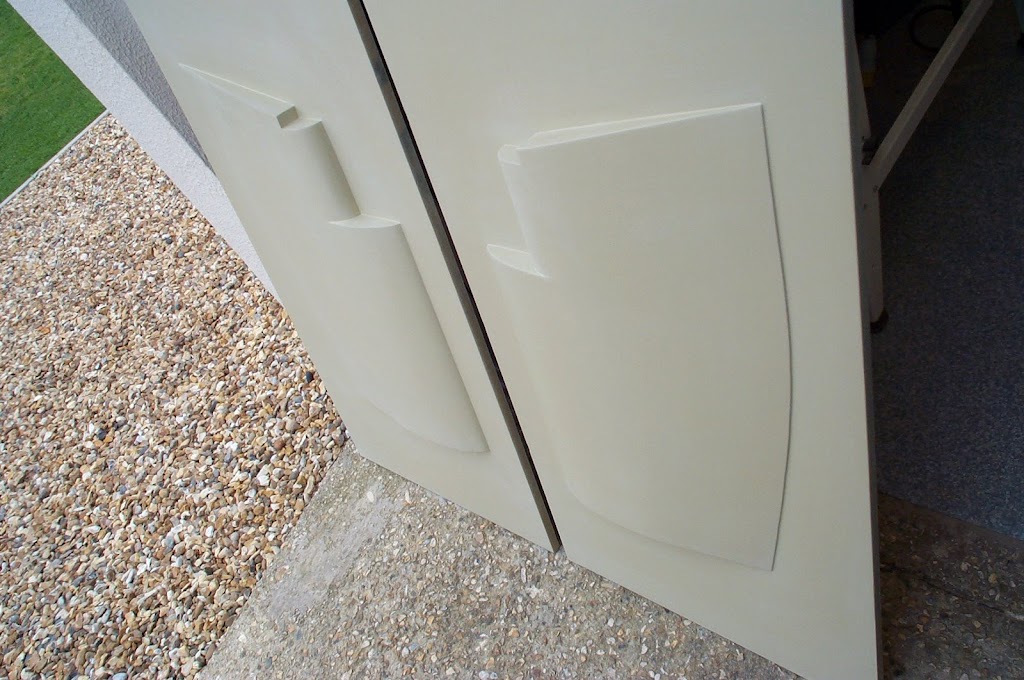
 After posting some progress pics on Sailing Anarchy' site one of the sites forum contributors told me i might want to 'crisp' the trailing edges of the keels up, the particular contributor was only Bob Perry.
 Seeing as the original trailing edge was over an inch wide i figured using some fabricated glass plate around 1/8" thick would at least help the keel slip through the water a bit better, so having figured out where the vertical centre of the keels edge is i spotted them on the old trailing edge with duct tape then when it'd kicked i then filleted with more cabosil'd wests then faired out with 410.
